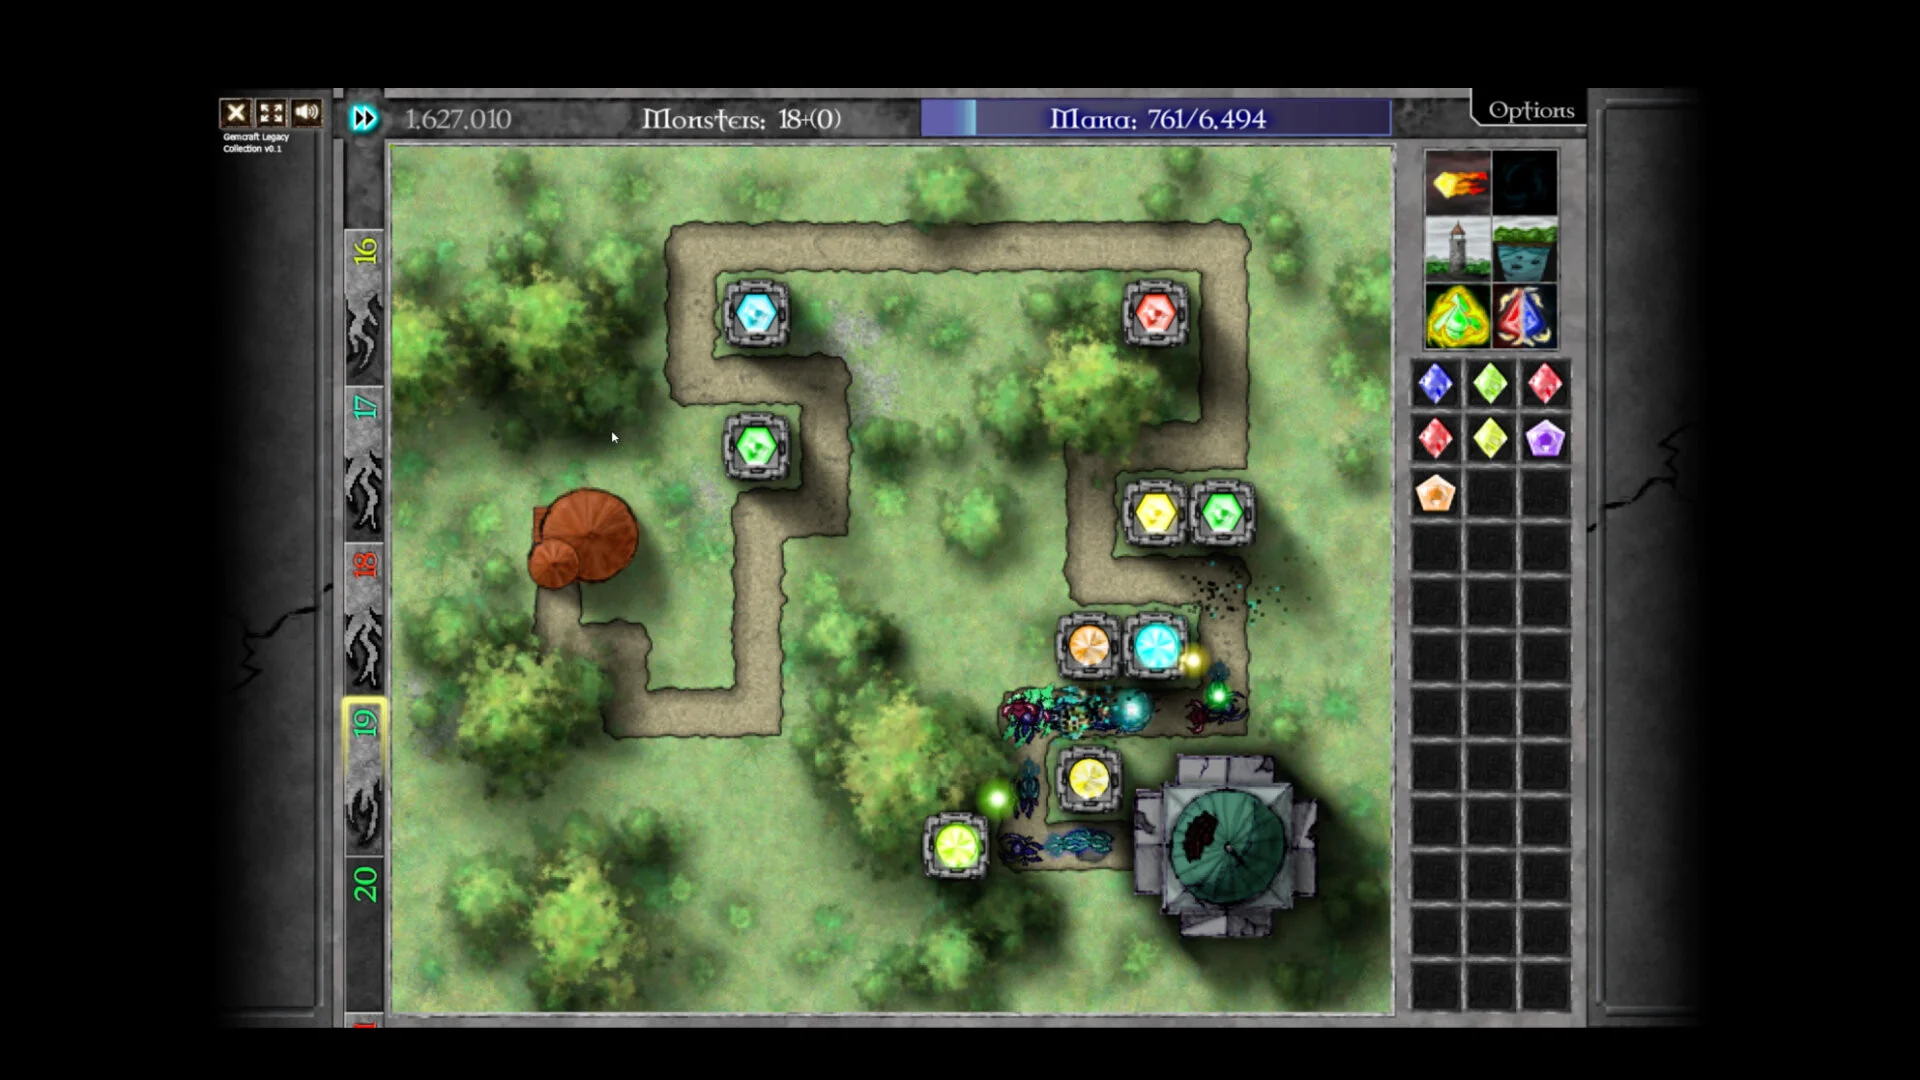
- Gem combinations raise gem grade for stronger range, damage, and effects in GemCraft Legacy Collection.
- Combine too early and you lose map coverage, secondary effects, and emergency mana flexibility.
- Pure gems excel at one role; mixed gems pair two effects that solve the same problem.
- Choose by enemy: armor tearing vs armor, slowing vs speed, chain hit vs groups.
- Amplifiers should support one key gem, not spread thin across every position.
How Gem Combinations Work in GemCraft Legacy Collection
Gem combination is one of the central decisions in GemCraft Legacy Collection. Combining compatible gems produces a higher-grade gem with stronger attack power, but every combination consumes gems and mana that could have covered another route or handled the next wave. The best sequence usually starts with enough low-grade gems to cover the battlefield, followed by focused upgrades in the positions that receive the most attack time.
Video Highlights:
- The collection bundles three classic GemCraft games with over 100 hours of content
- Gem forging and combining is the core mechanic across all chapters
- 385 achievements reward mastery of gem, map, and skill systems
A combination is only worth it when the new gem immediately gains better range, damage, or effect strength than the gems being consumed. If two separate gems are each covering a different entrance, do not merge them into one.
| Combination Type | Rule | Best Timing |
|---|---|---|
| Basic grade upgrade | Combine same-grade gems into a higher grade | New gem gains clear range or damage advantage |
| Pure-color gem | Keep one primary color for one strong effect | When one effect answers the map's main threat |
| Mixed gem | Combine colors to pair two effects | After defense is stable and pressure source is known |
| Hold low-grade gems | Delay combining to keep coverage | Multiple routes, low mana, or unknown next wave |
Pure vs Mixed Gems: Choosing the Right Effect
Pure gems specialize in a single attack effect, making them easy to control and predict. Mixed gems combine the properties of their component colors, which is powerful when both effects solve the same battlefield problem but wasteful when they dilute each other.
Damage and Chain Hit
- Red damage gems: reliable general offense
- Yellow chain-hit gems: multi-target coverage
- Best for dense waves and long shared paths
Slowing and Armor Tearing
- White slowing gems: extend tower exposure time
- Orange armor-tearing gems: amplify later attacks
- Best for fast enemies and armored enemies
Mana, Poison, and Specialists
- Blue mana-stealing gems: resource growth
- Lime poison gems: damage over time
- Purple critical / black bloodbound: high-impact builds
Do not create hybrids simply because more colors are available. An unfocused mixed gem often performs worse than two specialized gems placed in separate positions.
| Gem Effect | Primary Role | Strong Against | Limitation |
|---|---|---|---|
| Direct damage | Wave clearing | Ordinary enemies | Weak vs heavy armor |
| Chain hit | Multi-target | Grouped enemies | Needs nearby targets |
| Slowing | Control | Fast enemies | Needs a damage source |
| Armor tearing | Damage amp | Armored enemies | Low kill power alone |
| Poison | Sustained damage | Long battles | Needs time to pay off |
| Mana stealing | Economy | Target-rich maps | Weak when kills are fast |
| Critical / bloodbound | Burst offense | Boss-like targets | Build-dependent |
Step-by-Step: A Reliable Combining Sequence
Follow this sequence to build a defense that scales without losing battlefield control. It works across the three games included in the Legacy Collection.
Cover before you upgrade
Place enough low-grade gems to cover every entrance and path overlap first. Confirm at least one dependable attacking gem is active before upgrading anything.
Observe the first waves
Watch which enemies survive your main attack. Armor survivors call for armor tearing, escaped fast enemies call for slowing, and swarms call for chain hit or splash.
Upgrade the best-positioned gem
Combine into the gem that already has sustained access to the main path. A stronger gem in a poor position gains less than a moderate gem on a long path segment.
Add hybrid effects deliberately
Once the core defense is stable, mix colors only when two effects solve the same problem, such as slowing plus damage on a high-traffic kill zone.
Support with amplifiers
After the primary gem is well placed and firing constantly, add amplifiers to strengthen that key gem instead of spreading small upgrades everywhere.
Give towers positions with long range coverage and repeated enemy exposure: corners, intersections, and long path segments. Put slowing, poison, and other repeated-contact effects in traps where enemy traffic is concentrated. Never place a short-range effect where enemies pass only once.
Placement Pairing: Towers, Traps, and Amplifiers
Gems do not fight alone. Where a gem sits determines how often it fires, and the right building pairing multiplies its value.
| Building | Best Use | Recommended Gems | Avoid |
|---|---|---|---|
| Tower | Consistent ranged attacks | Damage, armor tearing, critical | Short-range effects on single-pass spots |
| Trap | Repeated path contact | Slowing, poison, control effects | Low-traffic locations |
| Amplifier | Boosting one key gem | Positioned around the main tower | Supporting a poorly placed gem |
Build in three layers: early control at the entrance, central damage at the main path overlap, and a final safety position near your Orb. Distribute reserve gems across entrances and fallback spots instead of stacking everything in one location.
Combining Checklist and Enemy Response
Before committing mana to your next combination, run through this checklist:
Before You Combine:
- Every entrance is still covered after the merge
- Mana reserve survives the next difficult wave
- The upgraded gem sits where it gains the most attack time
- The enemy type causing pressure has been identified
- Amplifiers support the strongest positioned gem
Match your next combination to the property that is actually stopping your defense:
| Enemy Property | Recommended Response |
|---|---|
| High armor | Armor tearing plus direct damage |
| High speed | Slowing traps on long segments |
| Large groups | Chain hit, splash, area effects |
| High health | Critical-hit scaling, sustained poison |
| Resource pressure | Mana stealing on target-rich maps |
FAQ
Q: Should I combine gems as soon as possible in GemCraft Legacy Collection?
No. Combining too early reduces map coverage, removes useful secondary effects, and drains mana needed for reinforcements. Cover the battlefield with low-grade gems first, then upgrade the best-positioned gem once waves are under control.
Q: Are mixed gems better than pure gems?
Neither is universally better. Pure gems provide one strong, predictable effect, while mixed gems pair two effects. Create hybrids only when both effects solve the same battlefield problem; otherwise two specialized gems in separate positions perform better.
Q: When should I keep multiple low-grade gems instead of combining?
Keep them when enemies approach from different routes, when a new wave may require a second effect, or when mana reserves are low. Do not consume your entire reserve before a difficult wave, especially against fast or armored enemies.
Q: Where should amplifiers go?
Add amplifiers only after the primary attacking gem is well placed and receives frequent targets. Concentrate amplifier support around that key gem rather than spreading small upgrades across every position.