GemCraft Legacy Collection Mechanics
Deep dives into GemCraft Legacy Collection systems: gem grades and combining, amplifiers, traps, mana, and the skill tree that ties it all together.
What are Mechanics Deep-Dives?
Focused explainers on the systems underneath the trilogy: how gem grades multiply damage, what amplifiers really add, how traps and shrines work, and what each skill node is worth.
Why study the mechanics?
Stop Wasting Mana
Learn which gem combinations give real returns so you never bleed mana on weak builds again.
Compose Synergies
Stack amplifiers, traps, and gem specials into setups that multiply each other's strength.
Optimize Your Skills
Spend skill points where the math says it counts, and respec deliberately instead of randomly.
Featured & Essential
GemCraft Legacy Collection best gems: Tier List
Rank the best GemCraft Legacy Collection gems by damage, control, armor breaking, mana economy, and endurance performance.
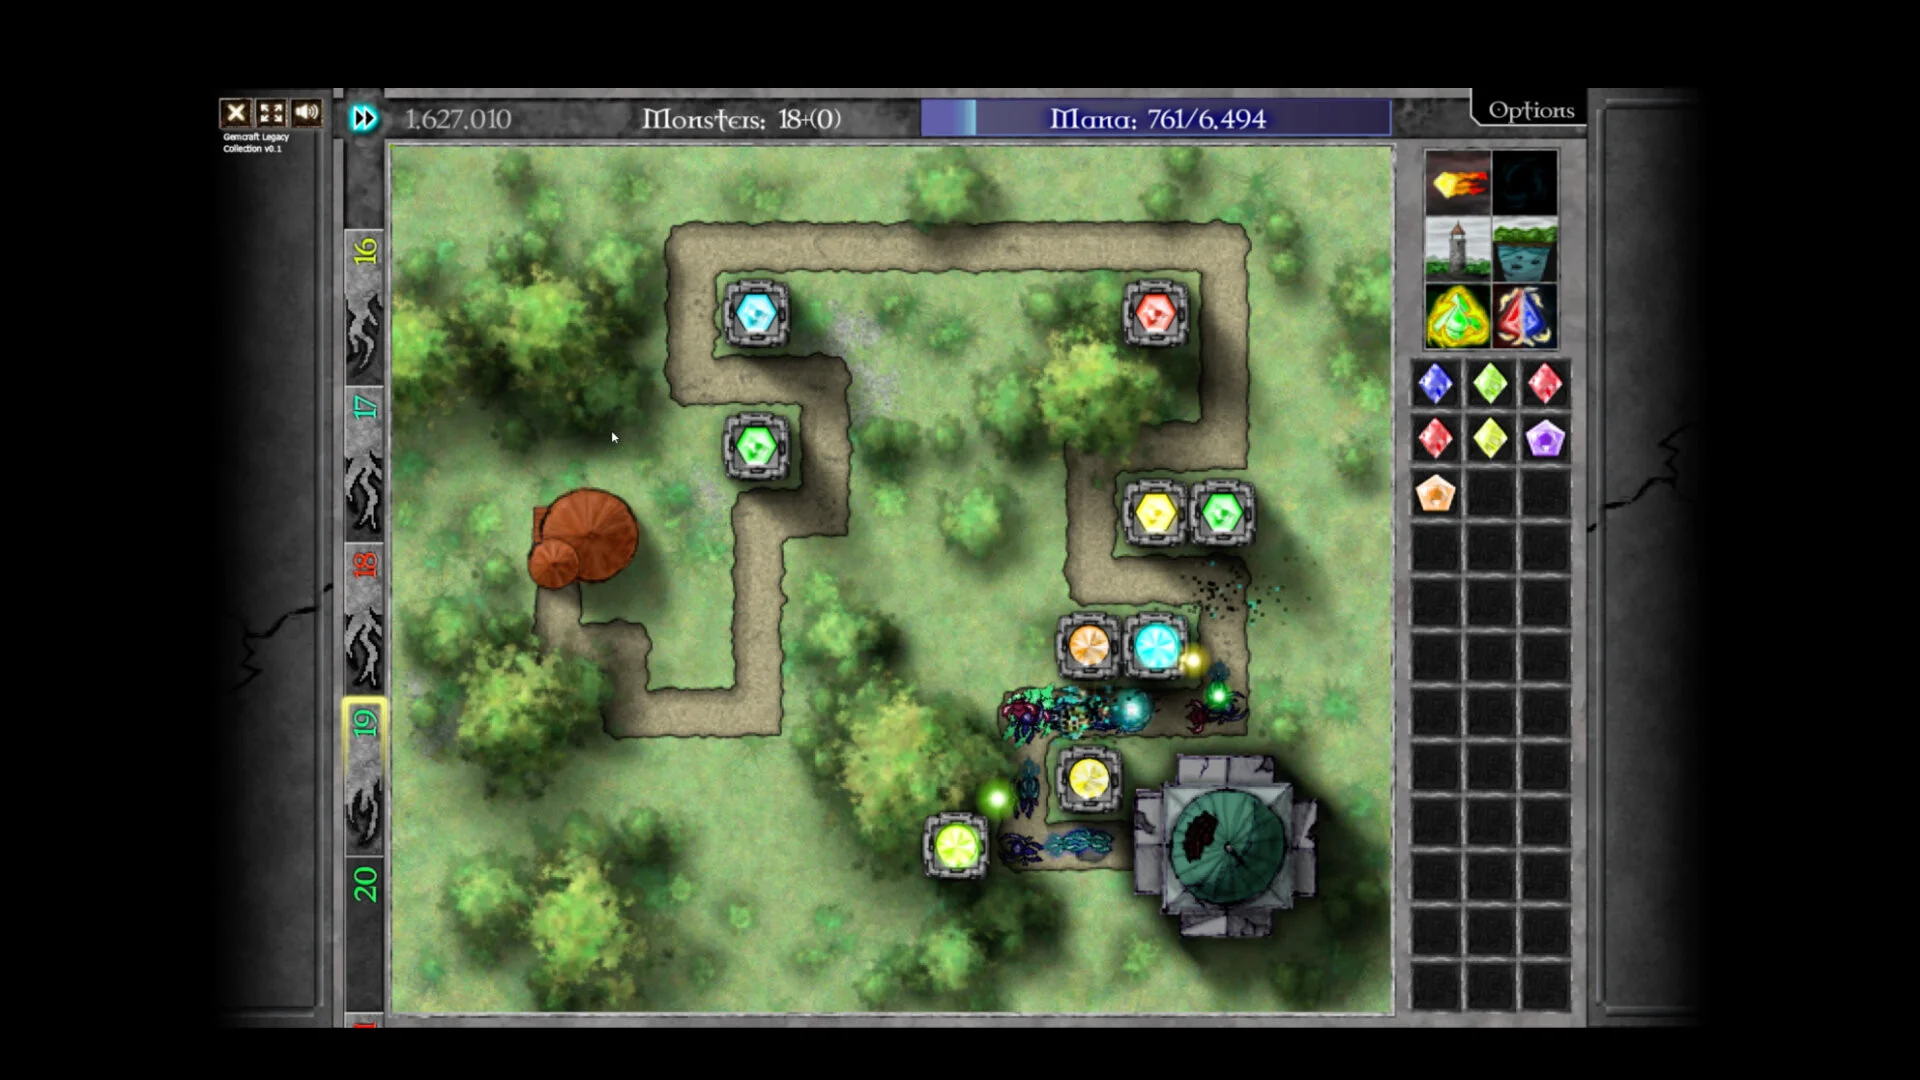
GemCraft Legacy Collection Gem Combinations: Setup Guide
Learn how gem combinations work in GemCraft Legacy Collection: grade upgrades, pure vs mixed gems, combining timing, tower and trap placement.
All Mechanics Articles
GemCraft Legacy Collection Gem Crafting: Best Gem Guide
Master gem crafting in GemCraft Legacy Collection: gem types, combination rules, tier rankings, and placement tips for all three classic tower defense
GemCraft Legacy Collection Skill Tree: Best Point Allocation
Learn how the GemCraft Legacy Collection skill tree works, with early, mid, and late-game point allocation routes, respec advice, and mode-specific builds.
GemCraft Legacy Collection Traps: Placement & Setup Guide
Master traps in GemCraft Legacy Collection: best gem effects, placement rules, tower pairing, and battle-tested trap setups for all three games.