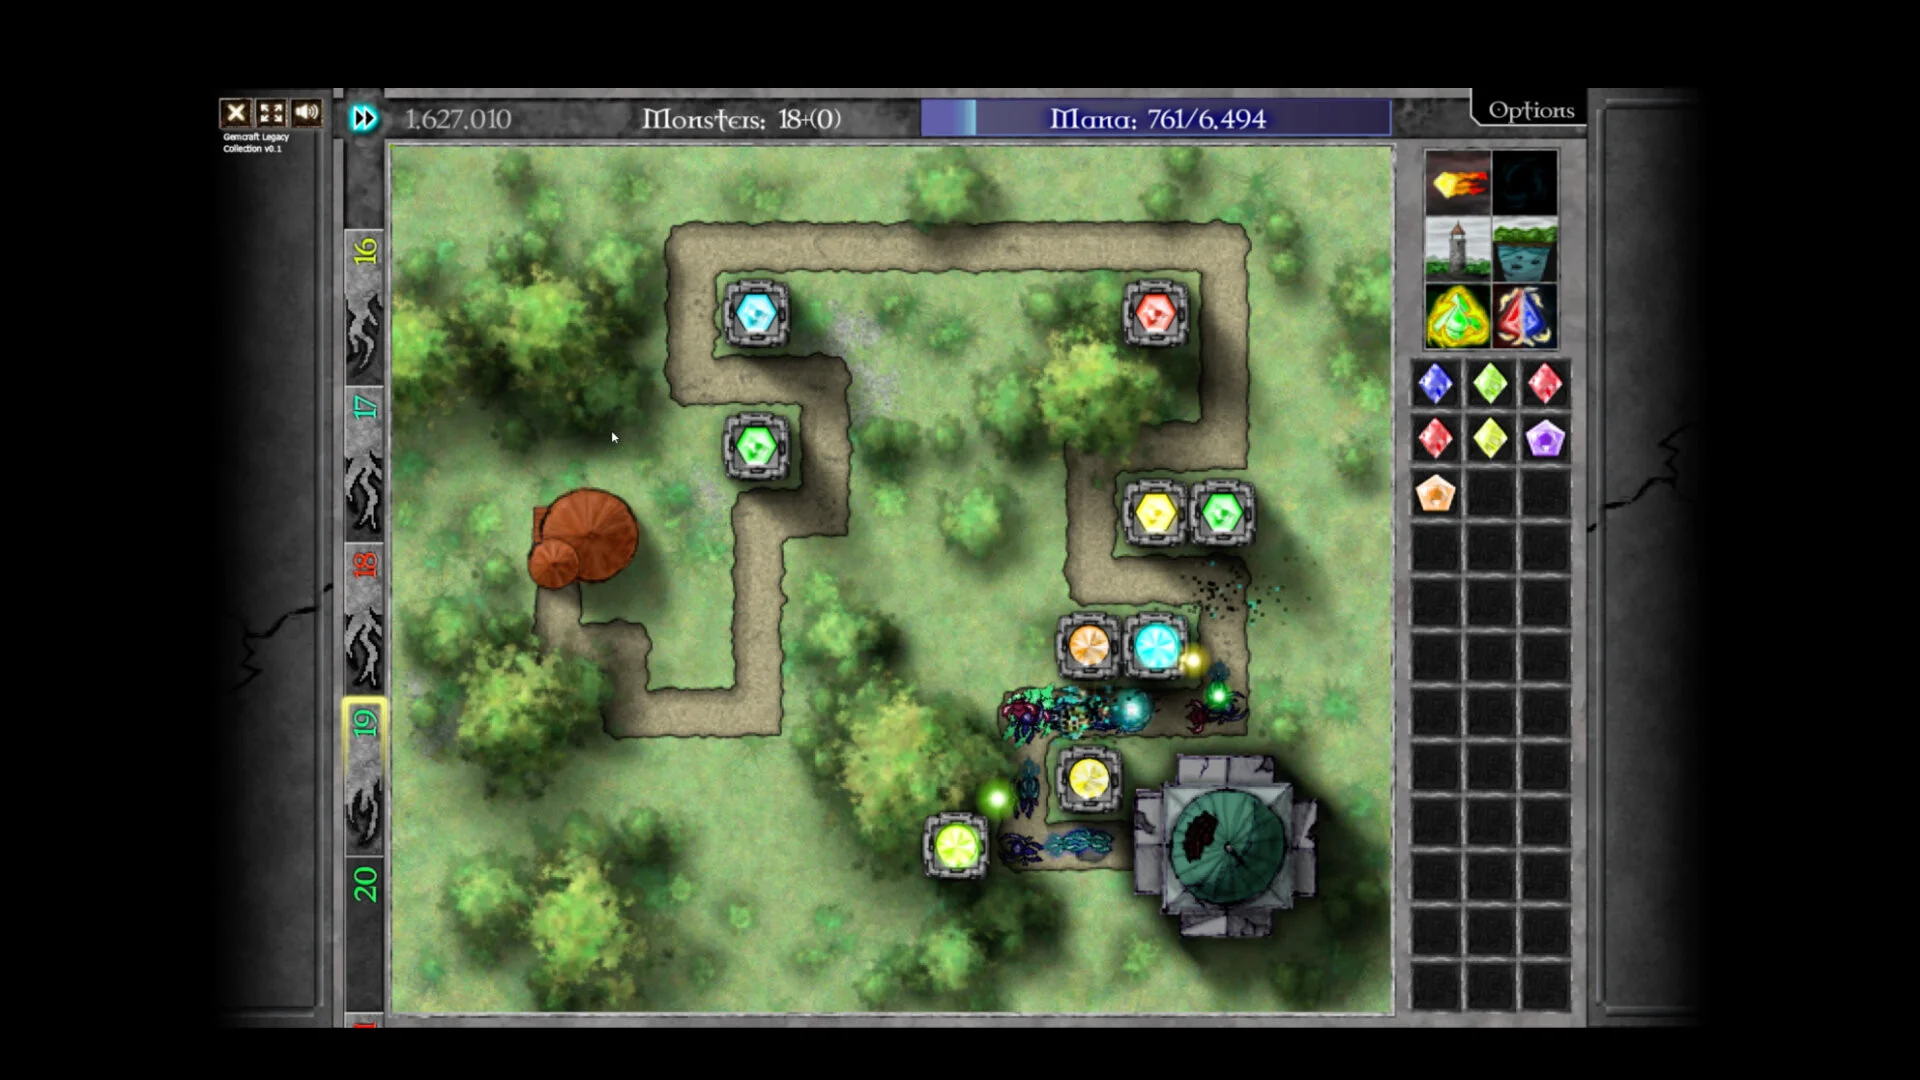
- GemCraft Legacy Collection bundles three classic tower defense games with 385 achievements and 100+ hours of content.
- Mana management is the single most important skill: reserve it before chasing high-grade gems.
- Combine with purpose: coverage first, then focused upgrades in positions with the most attack time.
- Match gems to threats: armor tearing vs armor, slowing vs speed, chain hit vs swarms.
- Skills solve problems: respec when maps, armor, or endurance modes change the battlefield.
Core Fundamentals: GemCraft Legacy Collection Tips That Win Battles
GemCraft Legacy Collection rewards players who treat each battlefield as a resource puzzle rather than a race to the biggest gem. The collection includes GemCraft: The Forgotten, Chapter Zero, and Labyrinth, and while each game expands the systems, the core loop stays the same: place gems in towers and traps, combine them into higher grades, and protect your Orb while managing mana.
Video Highlights:
- Official overview of all three included GemCraft games
- 100+ hours of content and 385 achievements to earn
- Gem forging, map variety, skills, and endurance battles showcased
The most common beginner mistake is overbuilding. Every gem you combine and every tower you raise drains mana that could fund emergency reinforcements later. Follow this priority order instead:
| Priority | Action | Why It Matters |
|---|---|---|
| 1 | Establish one reliable firing line | Guarantees wave income without overspending |
| 2 | Keep a mana reserve | Funds traps, summons, and emergency gems |
| 3 | Upgrade well-placed gems | Better returns than new weak towers |
| 4 | Add control effects | Slowing and armor tearing multiply total damage |
| 5 | Scale for endurance | Long battles reward efficiency, not raw size |
Do not combine every available gem as soon as you can. Merging your only two coverage gems into one high-grade gem can leave an entire entrance undefended, and fast enemies will exploit it immediately.
Gem Combining and Placement Tricks
Gem effects are situational tools. Pure gems deliver one strong effect; mixed gems blend two properties at reduced individual strength. The right choice depends on what is actually killing you on the current wave.
| Gem Role | Best Against | Placement |
|---|---|---|
| Direct damage | Ordinary health, concentrated targets | Central tower on longest path overlap |
| Armor tearing | Armored enemies | First major firing position |
| Slowing | Fast enemies, exit rushes | High-traffic traps and bends |
| Chain hit | Dense groups, looping paths | Tower covering multiple lanes |
| Mana stealing | Long battles, income-limited builds | Repeated-contact path segments |
| Poison | Sustained damage over time | Early path sections |
Timing matters as much as color. Combine when the new grade immediately gains better range, damage, or effect strength than the gems being consumed — not simply because combining is available.
Towers
- Ranged, sustained attacks
- Best for damage and armor tearing
- Place on long sightlines
Traps
- Repeated path contact
- Best for slowing, poison, leech
- Place where enemies pass often
Amplifiers
- Boost a key nearby gem
- Add after the main gem is proven
- Avoid spreading upgrades thinly
Build a layered defense: early control near entrances, central damage on shared path sections, and one final safety position near your Orb. This structure survives wave overlap far better than a single mega-tower.
Build Templates by Threat Type
Use these templates as starting points and adjust gem grades and positions to the map's sockets and battle settings.
| Build | Gem Setup | Target Priority | Spell Plan |
|---|---|---|---|
| Standard Kill-Zone | Balanced damage + control support gem | Fast enemies first, then high-health | Freeze on wave overlap |
| Boss Burst | One high-grade damage gem + armor counter | Boss, then healers and escorts | Save burst for longest exposure |
| Swarm Control | Chain/splash + slowing control | Front of largest cluster | Control before exit, area damage after |
| Armor-Counter | Armor reduction + critical scaling | Armored units before final section | Armor spells on first durable targets |
| Endurance Scaling | Scalable damage + mana support + control gem | Wave-pressure enemies, exit rushers | Cycle recovery, control, and burst |
Skill Point Strategy and Progression Route
Skills should solve the recurring problems your maps present, not follow a fixed universal order. This route works across the collection's three games.
Early: Secure Mana Income
Invest in mana generation, gem efficiency, and basic damage before anything specialized. Use low-cost spells frequently instead of hoarding charges. Keep enough mana to combine gems between waves.
Mid: Specialize Around the Map
Build a core of one or two reliable gem colors. Add armor-breaking or crowd-control support as enemies get tougher. Separate jobs: traps handle traffic, towers deliver damage.
Late: Optimize for Scaling
Prioritize skills that stay useful as wave health and armor rise: damage scaling, armor penetration, mana efficiency, and spell power. Keep a dedicated boss gem separate from your swarm setup.
Respec When the Mode Changes
Reset only when your current spread fails across several maps, or when moving from ordinary fields to endurance or high-trait challenges. Rebuild around the specific threat.
Pause before expensive changes so you can inspect the battlefield safely. Watch which enemies survive your main attack each wave, and answer with a second effect instead of stacking more of the same damage.
Achievement and Endurance Checklist
The collection's 385 achievements reward separation of concerns: complete normal progression first, then return with specialized builds for restrictive objectives.
Completion Route:
- Clear campaign maps in all three included games
- Mark completed fields to avoid repeat clears
- Collect straightforward battle amulets during the campaign
- Replay maps with dedicated builds for timing objectives
- Respec for endurance and high-difficulty cleanup last
The most common endurance failure is overbuilding multiple towers before your main gem can handle scaling waves. Invest in one scalable kill zone and add support only when required.
FAQ
Q: What is the best gem in GemCraft Legacy Collection?
There is no single best gem. Direct damage and chain-hit gems excel at wave clearing, slowing and armor-tearing gems multiply total damage against fast or armored enemies, and mana-stealing gems shine in long endurance battles. Match the gem to the threat that is actually breaking your defense.
Q: Should I combine gems as soon as possible?
No. Combine when the new grade immediately improves range, damage, or effect strength, and never merge gems that are covering separate routes if it leaves an entrance undefended. Keeping several lower-grade gems is often better for coverage and flexibility.
Q: Which game in the collection should I play first?
Start with GemCraft: The Forgotten to learn the core rules, then move to Chapter Zero for expanded progression, and finish with Labyrinth for map exploration, battle settings, and endurance challenges.
Q: When should I reset my skill points in GemCraft Legacy Collection?
Reset only when your current skill spread blocks progress across multiple maps, or when switching from ordinary fields to endurance or high-trait challenge modes. A single failed map is not a reason to respec.