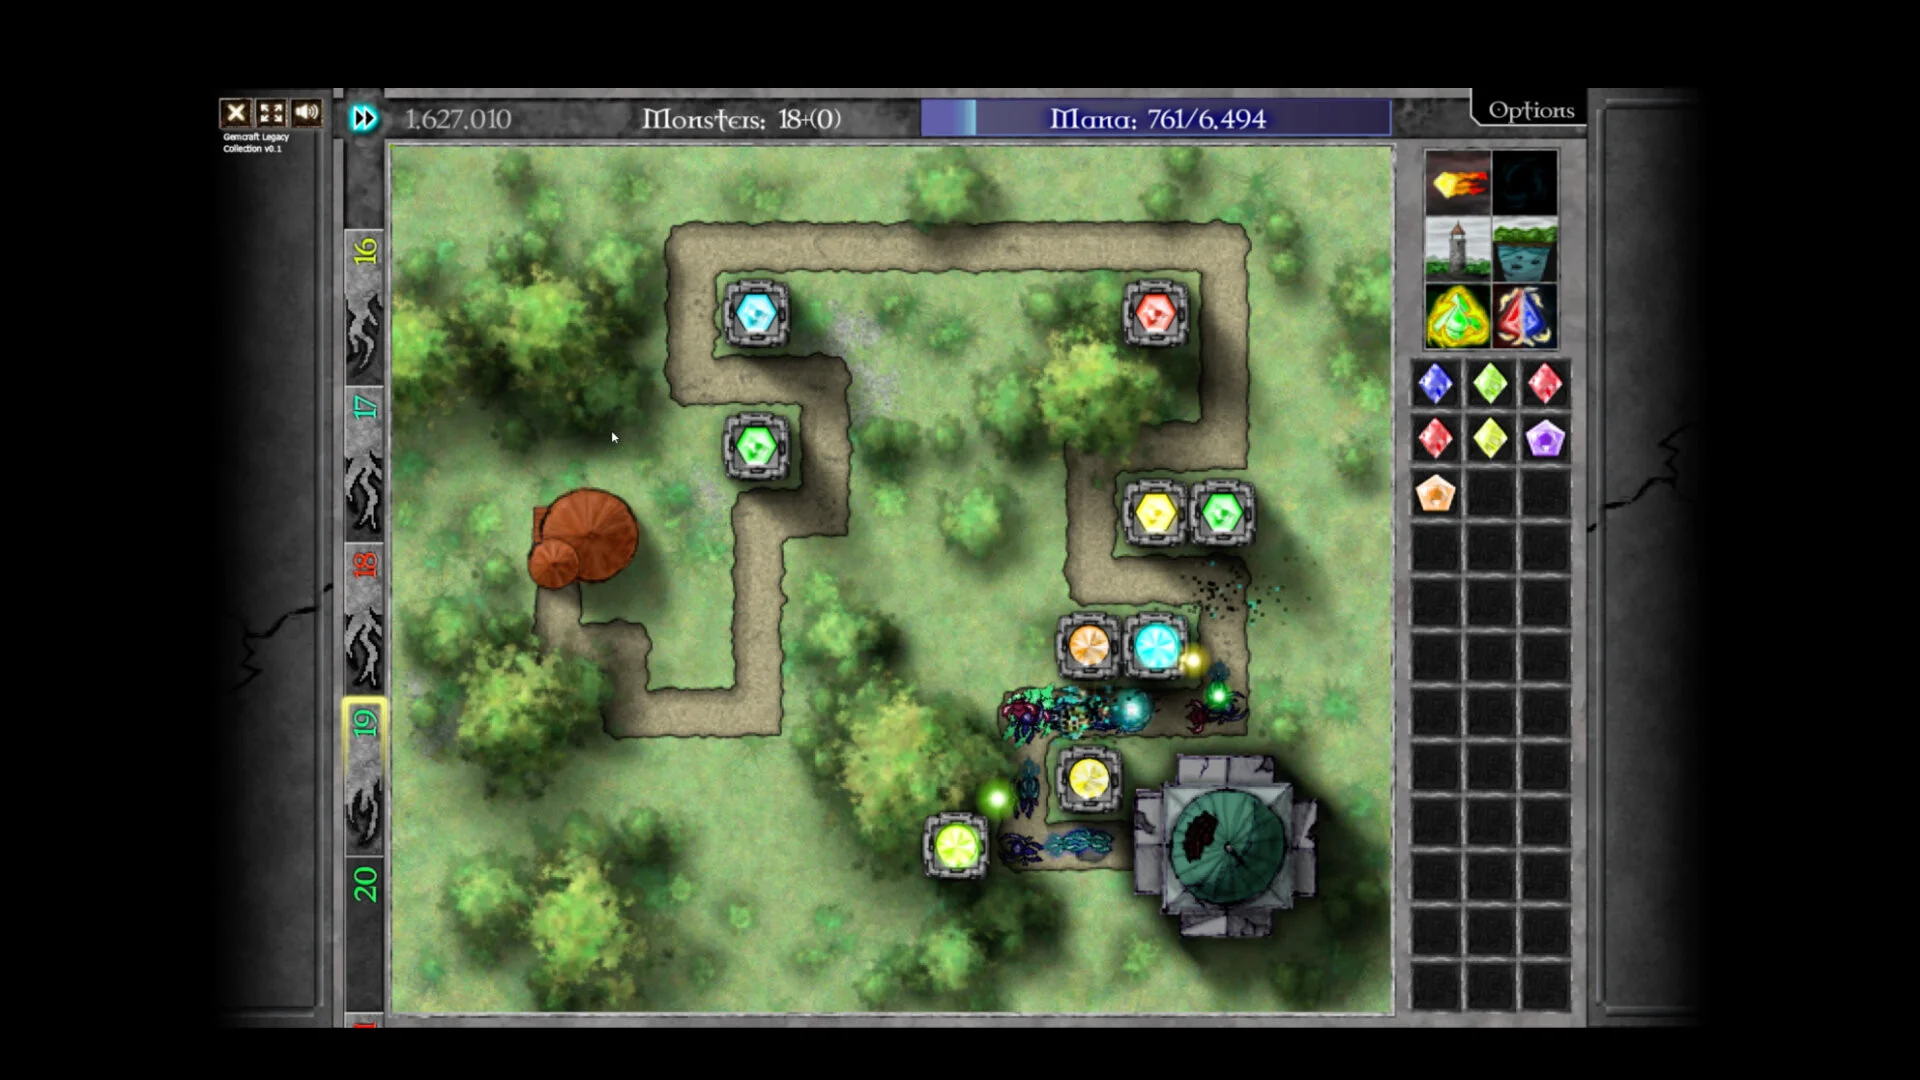
- GemCraft Legacy Collection gem crafting revolves around combining gems into higher grades for stronger attacks
- Pure gems specialize in one effect; mixed gems blend the properties of their component colors
- Combine with purpose: premature combining reduces map coverage and drains mana reserves
- Placement matters most: gems need long path exposure, corners, and overlapping routes to maximize value
- Match gems to threats: armor tearing for armored foes, slowing for fast ones, chain hit for swarms
Gem Crafting Fundamentals in GemCraft Legacy Collection
Gem crafting is the heart of every battle in the GemCraft Legacy Collection. Across GemCraft: The Forgotten, GemCraft: Chapter Zero, and GemCraft: Labyrinth, you place gems into towers and traps, combine them into higher grades, and manage mana to survive relentless enemy waves. Before you can build advanced setups, you need to understand how the crafting system actually works.
Video Highlights:
- The official trailer confirms gem forging as the core selling point across all three games
- Over 100 hours of content and roughly 385 achievements rely on mastering gem mechanics
- The collection adds fast-forward, hotkeys, and performance improvements over the originals
The three core rules of gem crafting are simple but easy to misuse:
- Grade upgrades: Combining compatible gems of the same grade creates a higher-grade gem with stronger damage, range, and effect power.
- Color determines role: Each gem color carries a specific attack effect, and the effect scales with grade.
- Context beats rarity: A well-placed low-grade gem covering a long path often outperforms a poorly placed high-grade one.
Do not combine every gem as soon as it appears. Merging your only gems covering separate routes can leave an entrance undefended, and spent mana cannot be recovered mid-battle.
Gem Types and Effects Reference
Each gem color in the Legacy Collection serves a distinct tactical purpose. Learning which effect solves which problem is the first step toward efficient crafting.
| Gem Type | Primary Effect | Best Against | Placement Priority |
|---|---|---|---|
| Damage (Red) | Direct, reliable single-target damage | Ordinary enemies, concentrated groups | Central towers with long range coverage |
| Chain Hit (Yellow) | Hits bounce to nearby targets | Dense waves, looping paths | Towers at bends and intersections |
| Slowing (White) | Reduces enemy movement speed | Fast enemies, long battles | Traps and early-path positions |
| Armor Tearing (Orange) | Strips enemy armor | Armored units, late-game fields | First major firing position |
| Poison (Lime) | Damage over time | High-health targets, endurance | Traps on repeated path segments |
| Mana Stealing (Blue) | Converts hits into mana | Resource-limited builds | High-traffic trap positions |
| Critical Hit (Purple) | Chance for amplified damage | Bosses, elite units | High-grade central towers |
| Bloodbound (Black) | Scales with combat performance | Advanced specialized builds | Supported core towers |
Before committing mana, watch the first enemies of each wave. If targets survive direct damage because of armor, shift toward armor tearing rather than upgrading the same damage gem again.
Gem Tier List by Battlefield Value
No single gem dominates every map. This ranking evaluates practical value across common situations in all three games rather than declaring one permanent winner.
| Tier | Category | Key Gems | Strengths | Limitations |
|---|---|---|---|---|
| S | Damage and chain-hit cores | Red damage, Yellow chain hit | Reliable wave clearing, scales well in long-coverage towers | Weakens against heavy armor; chain hit needs grouped targets |
| S | Slowing and armor tearing | White slow, Orange armor tear | Extends exposure time, amplifies later attacks | Needs a separate damage source to finish kills |
| A | Mana stealing and poison | Blue mana steal, Lime poison | Sustains large defenses in long battles | Weak when targets die too fast |
| A | Critical and bloodbound | Purple critical, Black bloodbound | Strong against durable targets with support | Build-dependent, rewards deliberate planning |
| B | Low-grade pure and unfocused gems | Early pure gems, emergency gems | Cheap coverage for multiple paths | Should be replaced or combined as threats scale |
S-Tier Playstyle
- Core damage + control
- Best for campaign progression
- Works on nearly every map
A-Tier Playstyle
- Economy and endurance
- Best for long battles and mana-limited fields
- Requires patience and positioning
B-Tier Role
- Opening coverage only
- Use as components for later combinations
- Replace once enemy health scales
A B-tier gem in the right trap can outperform an S-tier gem with poor target access. Always factor in path shape, armor levels, and battle settings before choosing your core gem.
Step-by-Step Gem Combination Workflow
The best crafting sequence starts with enough low-grade gems to cover the battlefield, followed by focused upgrades where gems receive the most attack time.
Establish Coverage First
Place low-cost gems at entrances, corners, and overlapping route positions before any combining. Every entrance should have at least one firing source.
Identify the Pressure Point
Watch a full wave and determine which enemy property is breaking your defense: armor, speed, health, or sheer numbers.
Combine Toward the Answer
Upgrade the gem whose position receives the most attack time. If armor is the problem, combine toward armor tearing; if speed, add slowing.
Add Tower and Trap Pairing
Put damage and armor-tearing gems in towers with long exposure. Place slowing, poison, and repeated-contact effects in traps on high-traffic segments.
Reinforce With Amplifiers
Once your primary gem is well placed and consistently firing, add amplifiers to strengthen it rather than spreading small upgrades everywhere.
Combine only when the new gem immediately gains better range, damage, or effect strength than the gems being consumed. If the merge leaves a route uncovered, postpone it.
Gem Builds by Enemy Type
Different threats demand different gem packages. Use these templates as starting points and adjust grades and positions to each map's sockets and battle settings.
| Threat | Core Gem | Support Gem | Spell Timing |
|---|---|---|---|
| Ordinary mixed waves | Red damage gem | White slowing or Yellow chain hit | Control when waves overlap |
| Armored enemies | Orange armor tear | Red damage with critical scaling | Save burst for weakened targets |
| Fast rushers | White slowing | Red damage in exit-side tower | Control before the exit approach |
| Bosses and elites | High-grade Purple critical | Orange armor tear or amplifier support | Burst during longest exposure window |
| Endurance scaling | Scalable Red main gem | Blue mana steal + Lime poison | Cycle recovery and control by wave schedule |
Gem Crafting Milestones:
- Cover every entrance with at least one firing gem
- Build one high-grade core gem before spreading upgrades
- Match gem effects to the dominant enemy threat
- Pair towers with traps on high-traffic path segments
- Reserve mana for emergency gems during difficult waves
Never spend your entire mana pool before a difficult wave, especially on maps with fast or armored enemies. A small reserve funds emergency gems and spells that can save a failing defense.
Placement Principles and FAQ
A strong gem is only useful if it attacks consistently. Prioritize long path segments, corners, and locations where several routes overlap. Build layered defenses: early control, central damage, and a final safety position near your Orb.
Q: Should I always combine gems to the highest grade possible?
No. In GemCraft Legacy Collection, keeping several lower-grade gems is often better when coverage, effect stacking, or emergency flexibility matters more than one immediate upgrade, especially when enemies approach from different routes.
Q: Are mixed gems better than pure gems?
Not always. Pure gems provide a clear, strong primary effect, while mixed gems combine two effects. Choose a hybrid only when both effects solve the same battlefield problem together; unfocused combinations often perform worse than two specialized gems.
Q: When should I use traps instead of towers?
Use towers for consistent ranged attacks where line coverage is strongest. Use traps for effects that benefit from repeated path contact, such as slowing, poison, and mana stealing on high-traffic segments.
Q: How do I counter heavily armored enemies?
Combine toward armor-tearing gems and place them in the first major firing position so every later damage source benefits from weakened targets. Support with direct damage and critical-hit scaling.
For official details on the three included games and the collection's improvements, visit the Steam store page or Game in a Bottle.