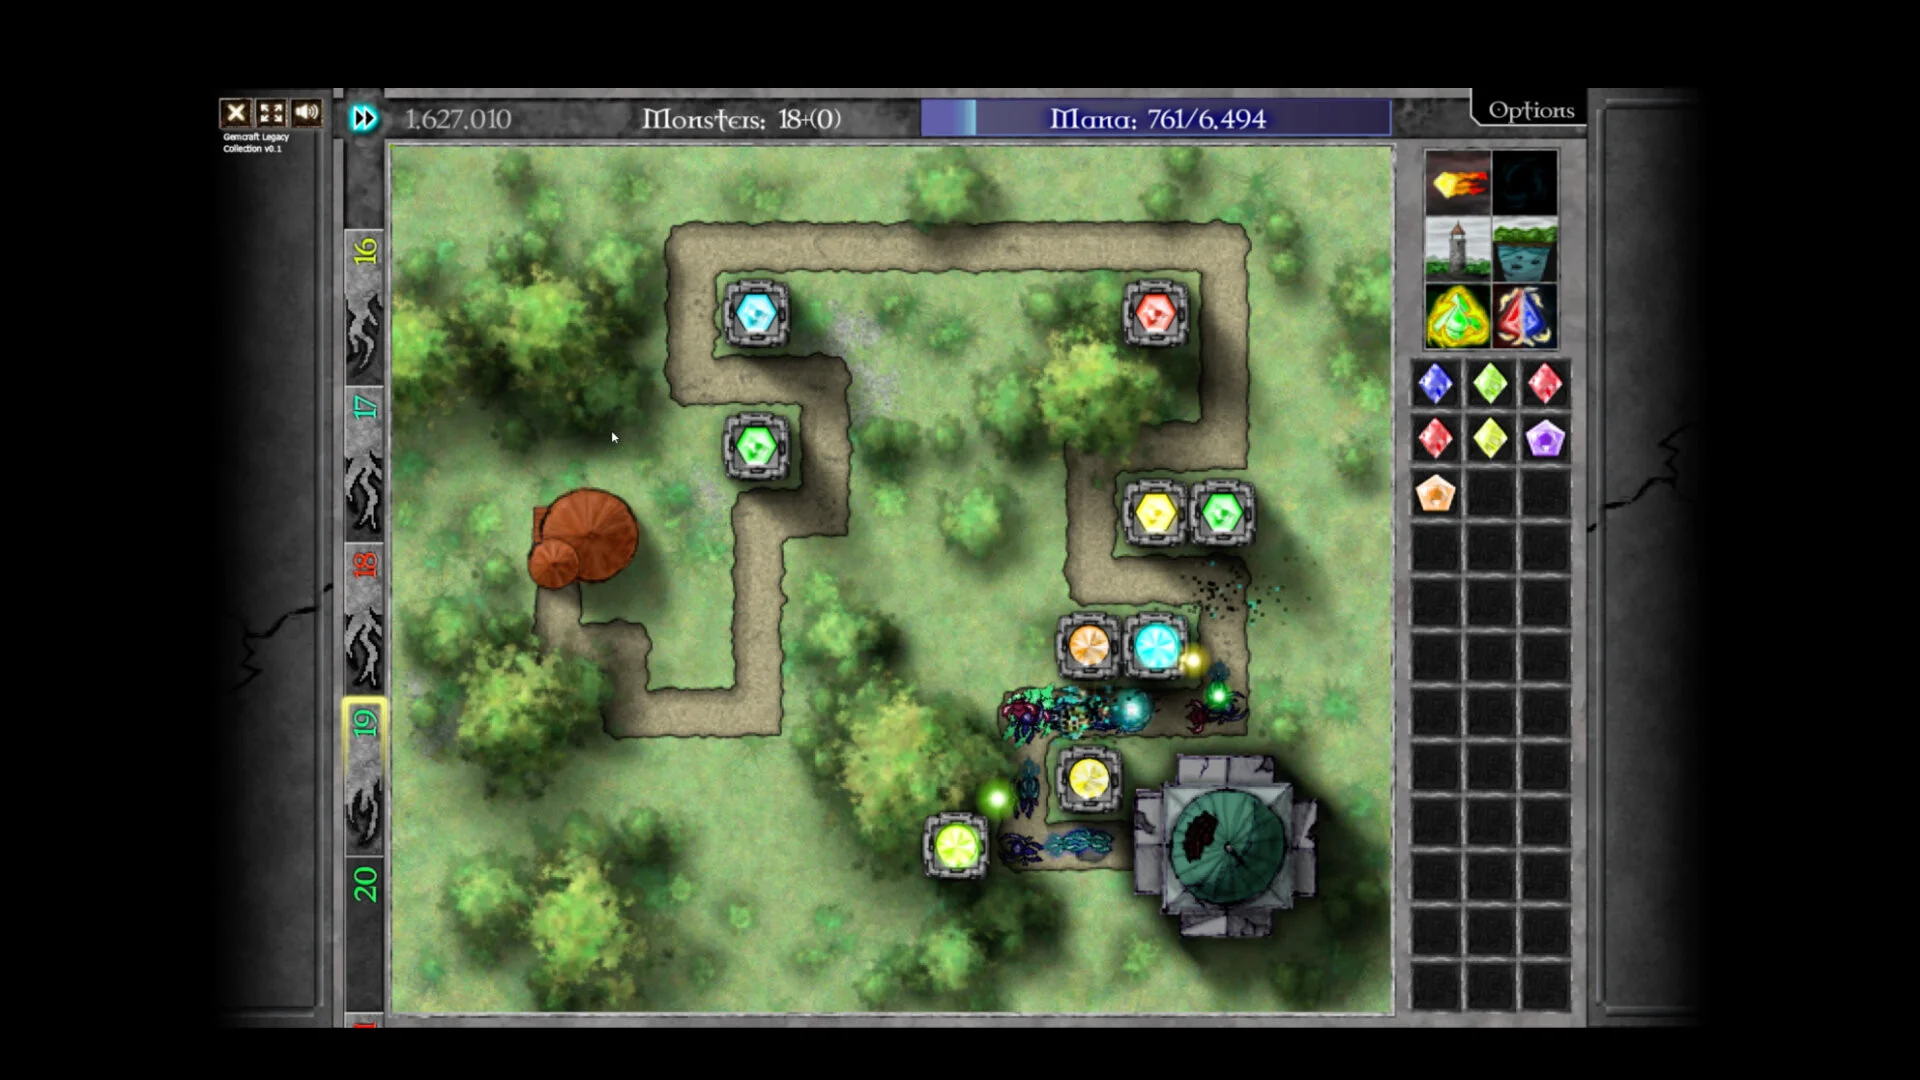
- GemCraft Legacy Collection skill tree differs across the three included games: GemCraft, Chapter 0, and Labyrinth.
- Early priority: invest in mana income and gem efficiency before chasing raw damage.
- Mid-game: specialize around one or two gem colors and the map's dominant enemy threat.
- Respec rule: reset only when your current spread blocks progress across several fields, not after one failed map.
- Endurance: favor sustained damage, armor counterplay, and mana efficiency over narrow early-wave bonuses.
How the Skill Tree Works Across the Three Games
The Legacy Collection bundles three generations of progression systems, and each game treats skills differently. GemCraft: The Forgotten keeps the system simple, teaching placement, targeting, and combining first. Chapter 0 expands the campaign and progression structure. Labyrinth pushes skill investment deepest, tying skill points to wizard-level progression, map exploration, and battle settings you choose per field. Treat the skill tree as a toolkit that answers recurring map problems rather than a fixed unlock order.
Video Highlights:
- The official trailer confirms skills as a core selling point across all three games
- Over 100 hours of content and roughly 385 achievements reward long-term skill planning
- The collection adds speed controls, hotkeys, and performance improvements over the Flash originals
| Game | Skill System Depth | Reset Flexibility | Key Progression Hook |
|---|---|---|---|
| GemCraft: The Forgotten | Basic, foundational skills | Limited | Learning the core loop |
| Chapter 0: Gem of Eternity | Broader campaign progression | Moderate | Larger map and skill pool |
| GemCraft Labyrinth | Deepest: wizard levels, battle settings | High, respec-friendly | Endurance and challenge scaling |
Before spending your first points, check the official Steam page and Game in a Bottle's development notes on battle settings and skills. Understanding how a field's modifiers interact with your build prevents wasted investment.
Best Skill Point Allocation Route
The most reliable route follows the problems each phase of the campaign actually presents. Use the steps below as a template, then adjust per map.
Early Game: Secure Mana Income
Invest first in skills that improve mana generation, gem efficiency, and basic combat consistency. Use low-cost spells frequently instead of hoarding charges. Establish one dependable tower near the first path intersection and keep enough mana for combining.
Mid Game: Specialize by Threat
Build a core around one or two reliable gem colors rather than spreading points evenly. Add armor-breaking, crowd control, or splash support when tougher enemy groups appear. Assign traps and towers separate jobs: traps for repeated path traffic, towers for concentrated range damage.
Late Game: Optimize for Scaling
Prioritize high-level damage scaling, armor penetration, mana efficiency, spell power, and gem-grade support. Keep a dedicated high-grade damage gem for bosses and a separate control or splash setup for swarms.
Endurance and Challenges
Rebuild around sustained scaling: mana returns, crowd control, and armor counterplay. Plan the full spell cycle—open with control, stabilize the kill zone, then spend burst when the strongest enemies enter range.
| Phase | Top Skill Priorities | Avoid |
|---|---|---|
| Early | Mana generation, gem efficiency, basic damage/range | Unlocking niche options too early |
| Mid | Mana Leech, critical hit scaling, trap/tower improvements | Even point distribution across all colors |
| Late | Damage scaling, armor counterplay, spell power | Short-battle bonuses with poor scaling |
| Endurance | Mana returns, sustained damage, control | Overbuilding multiple towers before core gem scales |
Do not reset after a single failed field. Reset when your skill spread blocks progress across several maps, or when a new mode—endurance, challenges, or fields with severe traits—demands a different specialization.
Skill Builds by Game Mode
No single allocation fits every mode. Match your build to the field's win condition before committing points.
Story Push Build
- Focus: general damage, range, mana
- Best for campaign progression
- Balanced and forgiving for new fields
- Works with any gem color core
Swarm Control Build
- Focus: splash, chain-hit, slowing skills
- Best for large groups and looping paths
- Traps on repeated path segments
- Add one dedicated damage gem for stragglers
Endurance Build
- Focus: mana efficiency, sustained scaling
- One central scalable kill zone
- Armor counterplay for late waves
- Spell cycling tied to wave schedule
| Mode | Core Skills | Supporting Setup |
|---|---|---|
| Normal fields | Damage + range + mana | Standard kill-zone tower with trap backup |
| Boss waves | Critical hit, armor counter | High-grade gem at longest line of sight |
| Swarm maps | Chain/splash + slow | Control towers at bends and intersections |
| Endurance | Mana returns + scaling damage | Single scalable core, secondary traps later |
In endurance and high-difficulty fields, one well-supported high-grade gem almost always outperforms several medium gems. Concentrate investment where attack time is highest.
Common Skill Mistakes and Fixes
| Mistake | Why It Fails | Fix |
|---|---|---|
| Spreading points evenly | Every skill becomes mediocre; no strength peaks | Concentrate on 2-3 core skills per phase |
| Skipping mana skills | Runs out of resources for combining and towers | Take mana income upgrades first |
| Damage-only builds | Armored and fast enemies survive | Add armor tearing or slowing support |
| Never respec | Old generalist setup stalls on trait-heavy fields | Full reset when switching to endurance or challenges |
| Respec after one loss | Wastes a working build on a solvable map | Re-read battle settings before resetting |
Labyrinth's battle settings can limit gem colors, raise armor, or favor endurance play. Always review field conditions before spending skill points or respecing. The developer's map and battle settings notes remain the best reference for how modifiers interact with skills.
Skill Progression Checklist
Skill Tree Milestones:
- Invest first points into mana generation and gem efficiency
- Establish a one-or-two-color gem core by mid game
- Add armor counterplay before facing armored wave settings
- Respec once for endurance or challenge modes
- Complete a full spell-cycle plan for boss timing
FAQ
Q: Is the skill tree shared across the three games in the GemCraft Legacy Collection?
No. Each game keeps its own progression. GemCraft has foundational skills, Chapter 0 expands the system, and Labyrinth ties skill points to wizard levels, map exploration, and per-field battle settings. Do not assume unlocks carry between chapters.
Q: What should my first skill points go into?
Mana generation and gem efficiency. Mana is both your building resource and your defensive flexibility; a resource-starved build fails before damage becomes relevant. Add basic damage and range once income is stable.
Q: When should I reset my skill points?
Reset only when your current spread blocks progress across several maps, or when moving into endurance, challenge modes, or fields with severe traits. A single failed field is usually a placement or gem-choice problem, not a build problem.
Q: Which skills matter most for endurance mode?
Mana returns, sustained damage scaling, armor counterplay, and reliable crowd control. These skills stay valuable as wave health and armor increase, unlike narrow early-wave bonuses that fall off during long battles.