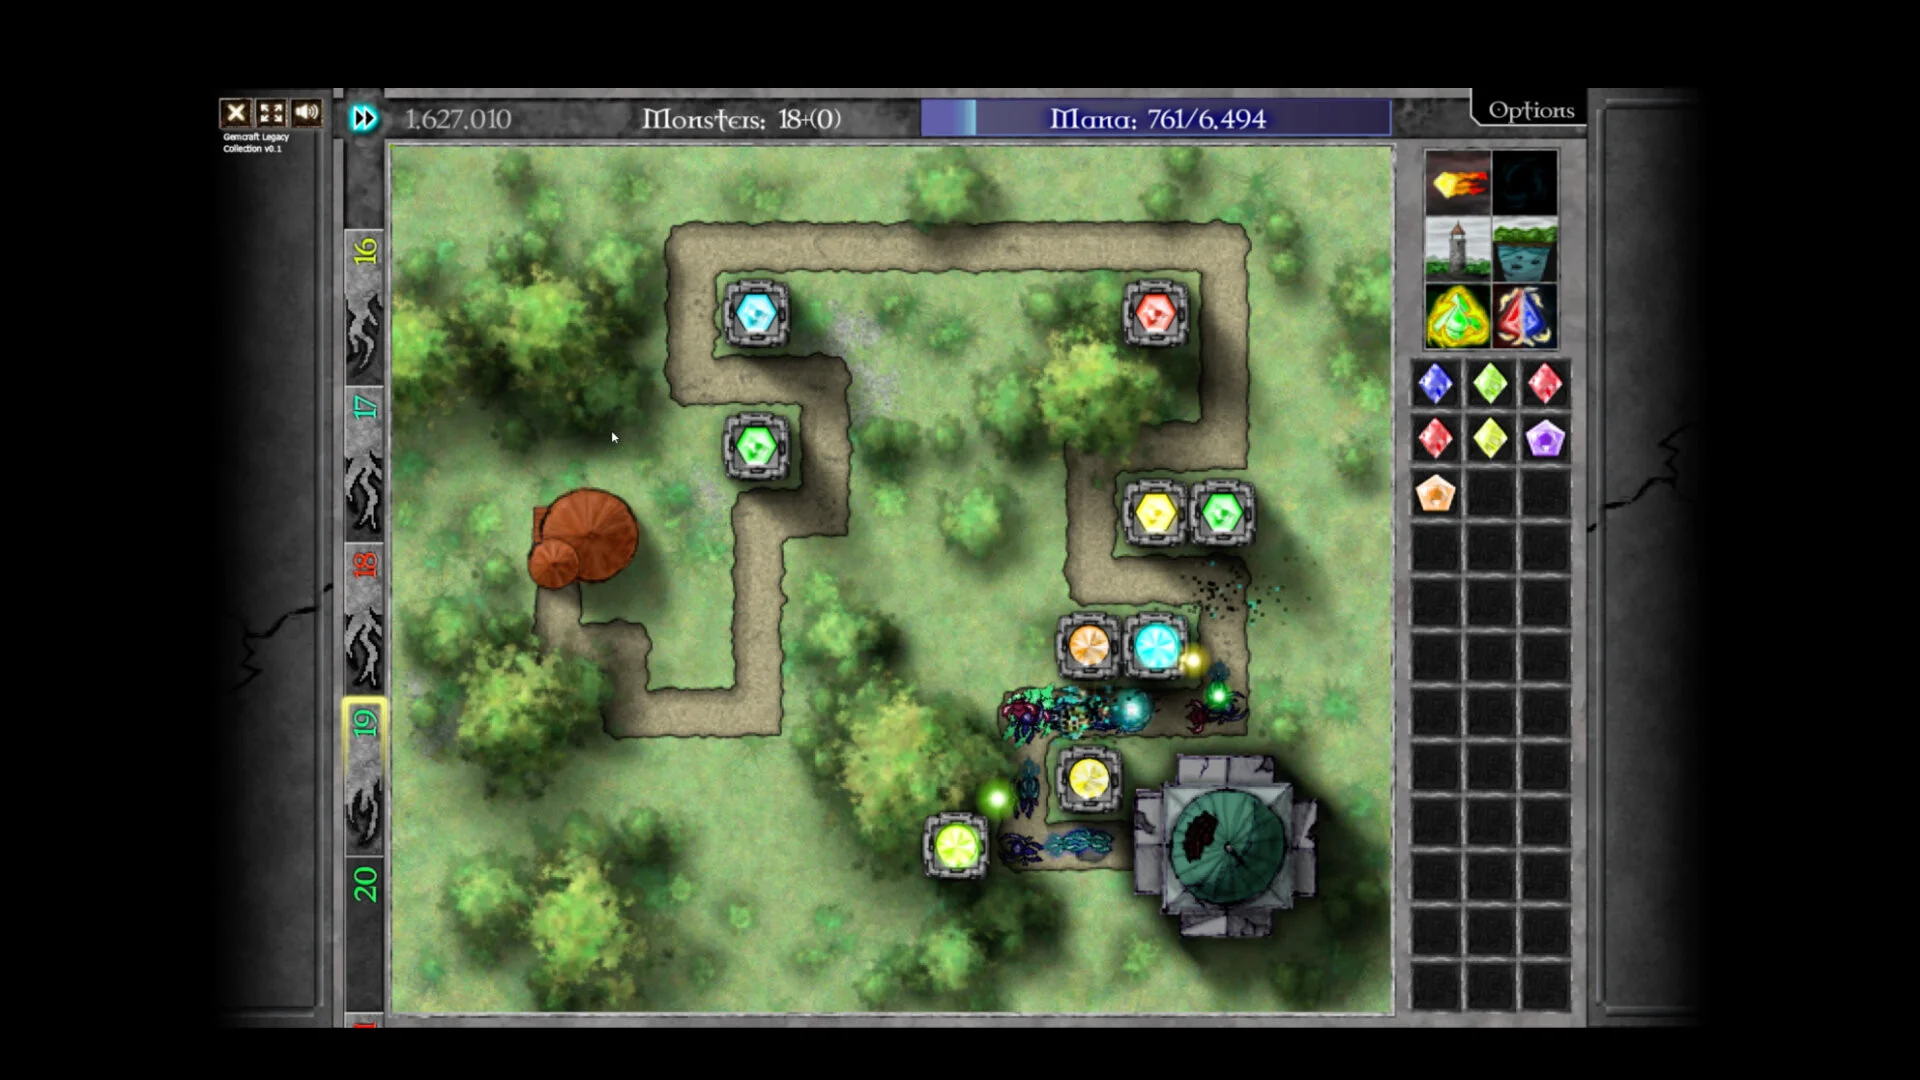
- GemCraft Legacy Collection traps reward repeated path contact over raw range, unlike towers.
- Best trap effects: slowing, poison, mana stealing, and armor tearing trigger on every pass.
- Placement rule: put traps on long, looping segments enemies cross more than once.
- Trap builds shine in Endurance and swarm-heavy fields with heavy path traffic.
- Avoid traps on short exit approaches where enemies cross only a single time.
How Traps Work in GemCraft Legacy Collection
Traps are one of the two main socket types you can place gems into across all three games in the collection — GemCraft: The Forgotten, Chapter Zero, and Labyrinth. While towers deliver sustained ranged attacks from a fixed position, traps are built directly onto the path and apply their gem effect through concentrated, repeated contact. This makes trap gems fundamentally different tools: a gem that is mediocre in a tower can be excellent in a trap, and vice versa.
The core trade-off is coverage versus repetition. Towers give you range and flexible target selection; traps give you guaranteed exposure at a choke point. Understanding which gem effects scale with repeated contact is the single most important skill for trap play.
Video Highlights:
- The official trailer covers gem forging, combining, and the core mechanics shared by all three included games
- Over 100 hours of content and roughly 385 achievements across the collection
- Released on Steam on October 21, 2026
A trap only pays off when enemies pass over it repeatedly or in dense groups. Before building, count how many path segments converge at your chosen spot — more convergence means more trap value.
| Feature | Tower | Trap |
|---|---|---|
| Attack delivery | Ranged, sustained fire | Contact-triggered on path |
| Best gem effects | Direct damage, chain hit, critical hit | Slowing, poison, mana stealing, armor tearing |
| Ideal location | Overlapping path sections, corners | Long or looping segments, choke points |
| Weakness | Fast enemies leaving range | Low value on single-crossing paths |
| Upgrade priority | High-grade damage gems | Effect-triggering gems over raw damage |
Best Gem Effects for Traps
Not every gem color earns a trap slot. Effects that apply on contact — and therefore stack with every passing enemy — dominate the trap meta. Evaluate gems by how often their effect triggers rather than by peak damage.
| Gem Effect | Trap Value | Best Scenario | Notes |
|---|---|---|---|
| Slowing (white) | ★★★★★ | Long paths, Endurance | Multiplies all other damage sources by extending exposure |
| Poison (lime) | ★★★★☆ | Swarm waves | Damage over time keeps working after enemies leave |
| Mana stealing (blue) | ★★★★☆ | Dense groups, Endurance | Resource return scales with target count |
| Armor tearing (orange) | ★★★★☆ | Armored enemy fields | Weakens targets for later towers |
| Chain hit (yellow) | ★★★☆☆ | Clustered paths | Needs enough nearby targets to chain |
| Direct damage (red) | ★★☆☆☆ | Early game only | Towers usually deliver damage more efficiently |
Control Trap
- Slowing or freeze effect
- Extends tower exposure time
- Place earliest on the route
Economy Trap
- Mana stealing core
- Funds gem combining mid-battle
- Best on dense traffic segments
Support Trap
- Poison or armor tearing
- Softens enemies before kill zone
- Pairs with high-grade tower
Do not put your highest-grade pure damage gem in a trap. Traps underperform as damage sources — move damage gems into towers with long lines of sight and keep traps for effect triggers.
Trap Placement Step-by-Step
Placement decides most of a trap's value before the first wave even spawns. Follow this sequence on any new field.
Read the path layout
Identify which segments enemies cross more than once, where multiple routes converge, and where the longest shared stretch sits. These are your candidate trap sockets.
Place the control trap first
Put a slowing effect trap on the earliest converging segment so every later damage source benefits from extended enemy exposure.
Build the tower kill zone behind it
Position your main damage tower where the slowed enemies spend the maximum time inside its range — typically the longest straight section after the convergence point.
Layer economy and support traps
Add mana stealing or poison traps on secondary traffic segments once the core defense is stable and mana reserves allow it.
Reserve a final safety position
Keep one socket near the Orb for an emergency control trap. Fast enemies that break through the kill zone should meet one last slowing effect before reaching your Orb.
A reliable field layout runs: early control trap, central damage tower, support traps on traffic, final safety trap. Each layer covers the weakness of the one before it.
Trap Setups by Battle Situation
Different fields and modes demand different trap configurations. These templates are starting points — adjust gem grades and positions to the available sockets and battle settings.
| Setup | Trap Role | Tower Role | Best Mode |
|---|---|---|---|
| Standard kill zone | One slow trap at convergence | Balanced damage tower behind it | Story maps |
| Swarm control | Slow + poison traps on loops | Chain-hit tower at bends | Dense group waves |
| Armor counter | Armor-tear trap first in line | Damage tower with critical support | High-armor fields |
| Endurance scaling | Slow + mana-steal traps, upgraded gradually | One scalable high-grade core | Endurance mode |
| Boss burst | Weakening trap on early section | Concentrated damage at final approach | Boss and elite waves |
In Endurance-style battles, avoid overbuilding traps early. Scale one central kill zone first, then add traps only when wave pressure actually demands extra control or income.
Trap Field Checklist:
- Identified repeated-contact path segments before building
- Placed a control trap at the first convergence point
- Kept damage gems in towers, not traps
- Reserved one safety socket near the Orb
- Layered economy traps only after the core is stable
Trap FAQ
Q: Are traps available in all three games in the GemCraft Legacy Collection?
Yes. Towers and traps are core battlefield structures shared across GemCraft: The Forgotten, Chapter Zero, and Labyrinth. However, available sockets, battle settings, and skill support differ by map and game, so always check the field before committing to a trap-heavy layout.
Q: What is the best gem to put in a trap?
Slowing gems are the safest universal choice because they multiply the value of every other damage source. Mana stealing and poison traps are excellent on dense traffic maps, while armor-tearing traps shine on fields with heavily armored waves.
Q: Should I combine trap gems to higher grades?
Combine trap gems only when the upgrade meaningfully strengthens the effect — for example, a stronger slow or a larger mana return. Do not merge your only coverage gems if the result leaves a route or choke point unprotected.
Q: When are traps a bad choice in GemCraft Legacy Collection?
Traps underperform on short maps where enemies cross each segment only once, and against fast enemies that barely linger on any path section. On those fields, favor towers with long range placed at overlapping path sections instead.
Summary and Next Steps
Traps in GemCraft Legacy Collection are effect-delivery tools, not damage substitutes. The strongest trap play follows three rules: place them where enemies cross repeatedly, favor contact-triggered effects like slowing, poison, mana stealing, and armor tearing, and always back them with a tower-based kill zone. For deeper coverage of the systems that surround traps, see the official Steam store page and Game in a Bottle, the series developer, for map and battle-setting details.
Load a looping Labyrinth map, build only slowing traps plus one damage tower, and observe how dramatically extended exposure improves clear speed. That single experiment teaches more about trap value than any tier list.