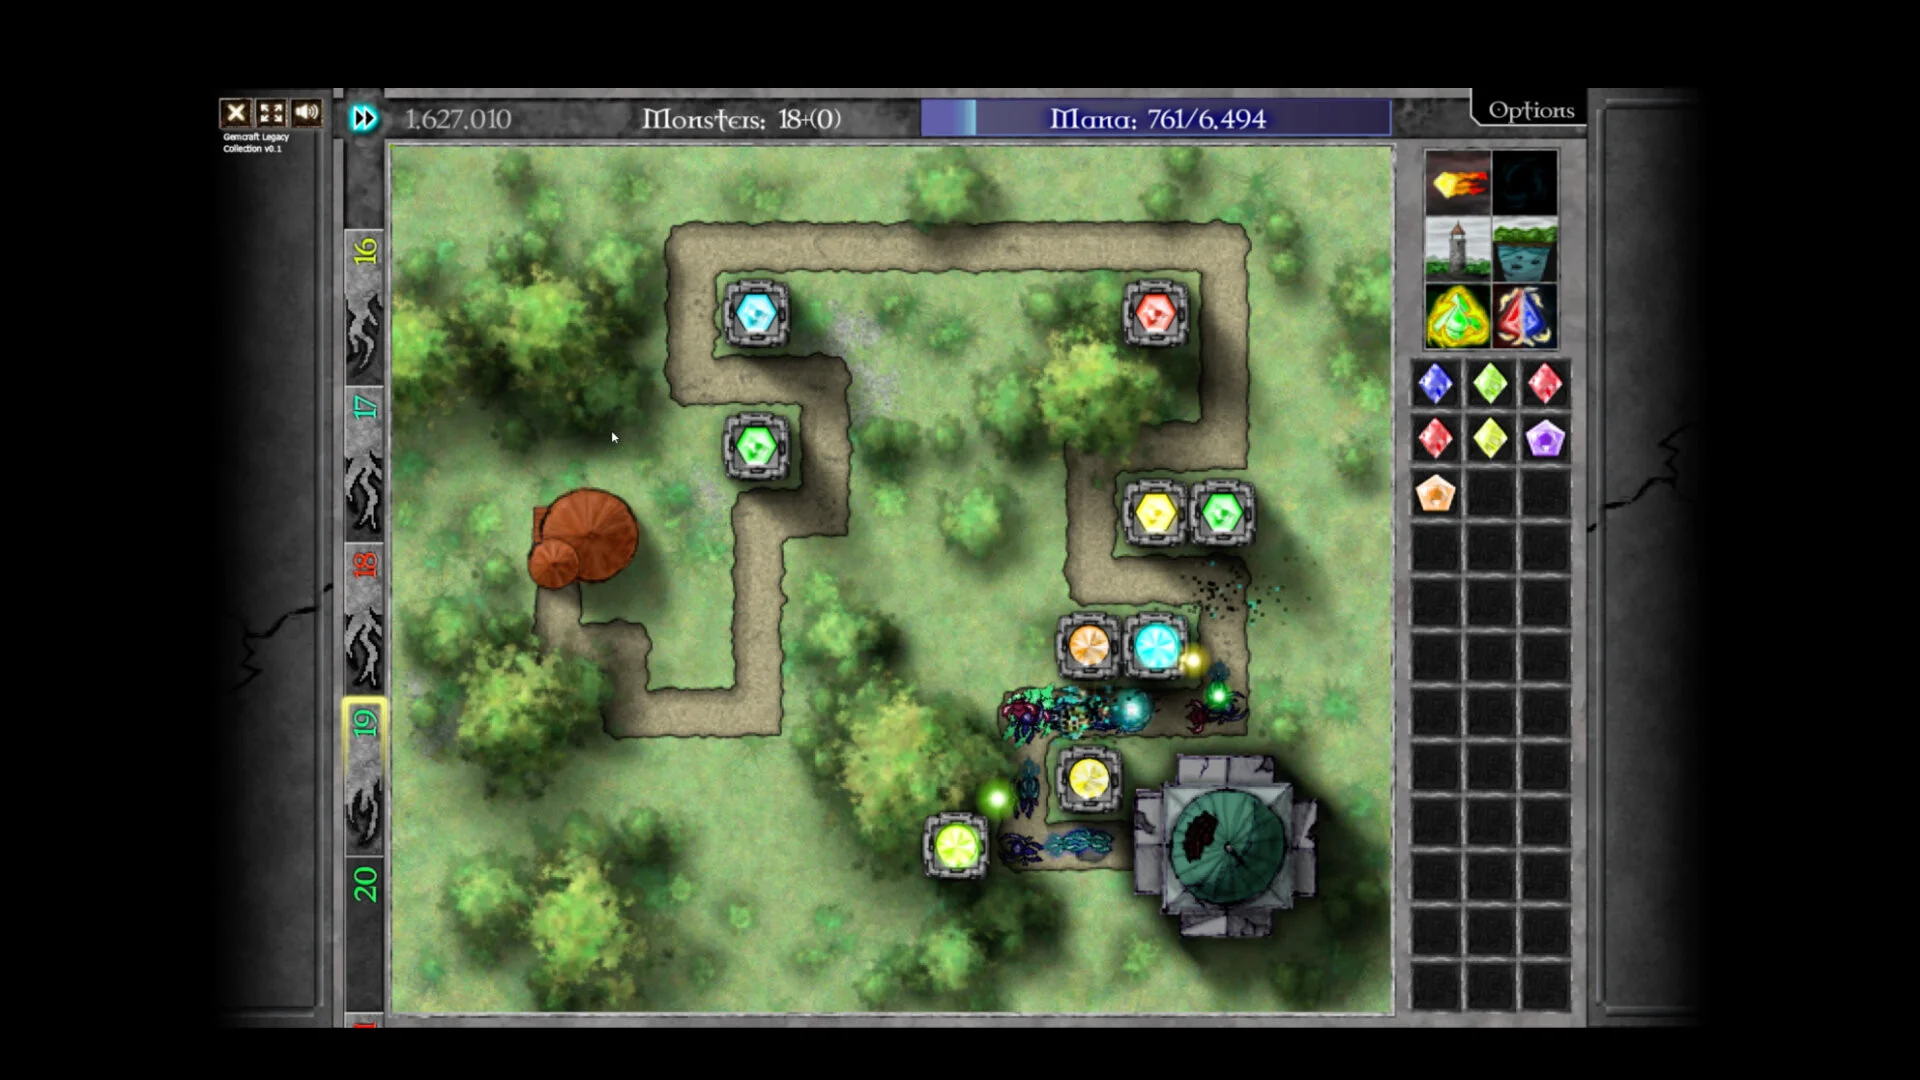
- GemCraft Legacy Collection wave guide: Master wave reading across all three included games.
- Core rule: Build one reliable kill zone first, then scale gems between waves.
- Mana discipline: Never spend your entire reserve before a difficult wave arrives.
- Targeting: Prioritize fast enemies near the exit and summoners that create extra pressure.
- Endurance: Cycle control, burst, and resource recovery spells instead of dumping them early.
How Waves Work Across the Three Games
This GemCraft Legacy Collection wave guide starts with the fundamentals. All three included titles — GemCraft: The Forgotten, Chapter Zero, and Labyrinth — share the same core loop: enemies arrive in timed waves, travel along fixed paths, and your gems in towers and traps must stop them before they reach your Orb. The differences lie in how each game scales waves and what tools you have to respond.
The collection's Steam release adds fast-forward, hotkeys, and performance improvements, which makes wave monitoring and mid-battle adjustments far more responsive than the original Flash versions.
Video Highlights:
- Official overview of all three games and 100+ hours of content
- Gem forging, maps, skills, and achievements showcased
- Shows wave-heavy tower defense action from each chapter
| Game | Wave Style | Difficulty Scaling | Best For |
|---|---|---|---|
| The Forgotten | Fixed campaign waves | Steady per-map increase | Learning wave basics |
| Chapter Zero | Larger maps, more paths | Broader progression curve | Practicing multi-path waves |
| Labyrinth | Battle settings and traits | Modifier-driven pressure | Advanced wave control |
Before wave one starts, check the map preview: count the paths, identify the longest shared segment, and place your first tower where it gets maximum attack time. A well-placed grade-1 gem outperforms a poorly placed grade-3.
Wave-by-Wave Defense Strategy
Every wave presents three questions: which enemies are coming, which of your gems can hurt them, and whether you have mana to respond. Use this framework instead of reacting blindly.
Early Waves
- Focus: Establish coverage
- Use cheap low-grade gems
- Grow mana from early kills
- Avoid overbuilding towers
Mid Waves
- Focus: Specialize gems
- Add control or armor-tearing
- Combine gems at key positions
- Hold a mana reserve
Late Waves
- Focus: Scaling and burst
- Central high-grade damage gem
- Save spells for bosses
- Layer a final defense near the Orb
| Enemy Type | Threat | Recommended Gem Response |
|---|---|---|
| Fast enemies | Reach the exit quickly | White slowing gems in traps |
| Armored enemies | Absorb direct damage | Orange armor-tearing gems |
| Large groups | Overwhelm single-target towers | Yellow chain-hit gems |
| High-health elites | Survive repeated passes | High-grade damage or critical-hit gems |
| Summoners | Create additional enemies | Focus-fire priority targeting |
Do not combine every gem the moment it becomes possible. If a combination leaves a route uncovered or drains your mana before an armored wave, you lose flexibility exactly when you need it most.
Step-by-Step Wave Management Routine
Follow this routine on every map until it becomes second habit.
Scout the field before wave one
Identify entrances, exits, path overlaps, and available tower and trap sockets. Choose one central kill zone with long enemy exposure before spending any mana.
Establish one dependable attacker
Place a damage gem in the best tower position and confirm it fires on every incoming route. Keep a second low-grade gem as emergency coverage.
Watch the first enemies of each wave
Pause or slow the battle speed and observe who survives your attack. The survivors tell you exactly which effect to add next: armor tearing, slowing, or more damage.
Upgrade between waves, not during
Combine gems and add amplifiers in the calm window between waves. Mid-wave spending should be limited to emergency gems and spells.
Reserve spells for the pressure peak
Hold control spells for overlapping waves and burst damage for bosses and elites. Alternating resource recovery with emergency control keeps long battles stable.
Set tower targeting so fast enemies near the exit and summoners are engaged first. High-health enemies that survive one pass will return through your kill zone and can be finished there.
Endurance and Special Wave Modes
Endurance-style battles change wave management from clearing to scaling. Wave health, armor, and speed continue climbing, so a build that clears wave 20 will fail at wave 60 without planning.
| Endurance Principle | Why It Matters | Execution |
|---|---|---|
| One scalable kill zone | Spreading resources stalls scaling | Upgrade a central gem instead of many small ones |
| Mana-positive opening | Long battles reward economy | Mana-stealing gems and mana skills early |
| Dedicated control gem | Stabilizes emergencies | Separate slowing gem from your damage core |
| Spell cycling | Dumps waste charges | Rotate recovery, control, and burst by wave schedule |
Labyrinth's battle settings and traits can further modify waves — restricting gem colors, boosting armor, or extending sequences. Read the field conditions before the first wave and adapt your gem package to the dominant threat rather than running a default build.
Official development notes on battle modes and traits explain how wave modifiers are designed to punish generic builds — treat each modified field as a fresh tactical puzzle.
Wave Mastery Checklist
Wave Survival Milestones:
- Scout paths and pick a kill zone before wave one
- Keep one reliable attacking gem active at all times
- Identify surviving enemy types and counter them next wave
- Maintain a mana reserve through every difficult wave
- Cycle spells instead of spending all charges at once
Completing these milestones consistently will carry you through the campaign maps of all three games and prepare your skills and gem economy for the collection's 385 achievements and endurance challenges.
Wave Guide FAQ
Q: What is the most important wave rule in GemCraft Legacy Collection?
Never spend all your mana before a difficult wave. Mana is both your building resource and your emergency response; a reserve lets you add gems, traps, or spells when a wave breaks through your defense.
Q: Should I combine gems as soon as possible?
Not always. Combine when the higher-grade gem immediately gains better range, damage, or effect strength. If combining leaves a route uncovered or removes a useful secondary effect, keep multiple lower-grade gems.
Q: How do I handle fast enemies that reach the exit?
Place white slowing gems in traps along high-traffic path segments, and set tower targeting to prioritize fast enemies near the exit. Slowing increases the time every enemy stays inside tower range.
Q: How do endurance waves differ from normal waves?
Endurance waves scale continuously in health, armor, and speed. Build one scalable central kill zone, invest in mana efficiency, keep a separate control gem, and cycle spells according to the wave schedule rather than spending everything early.