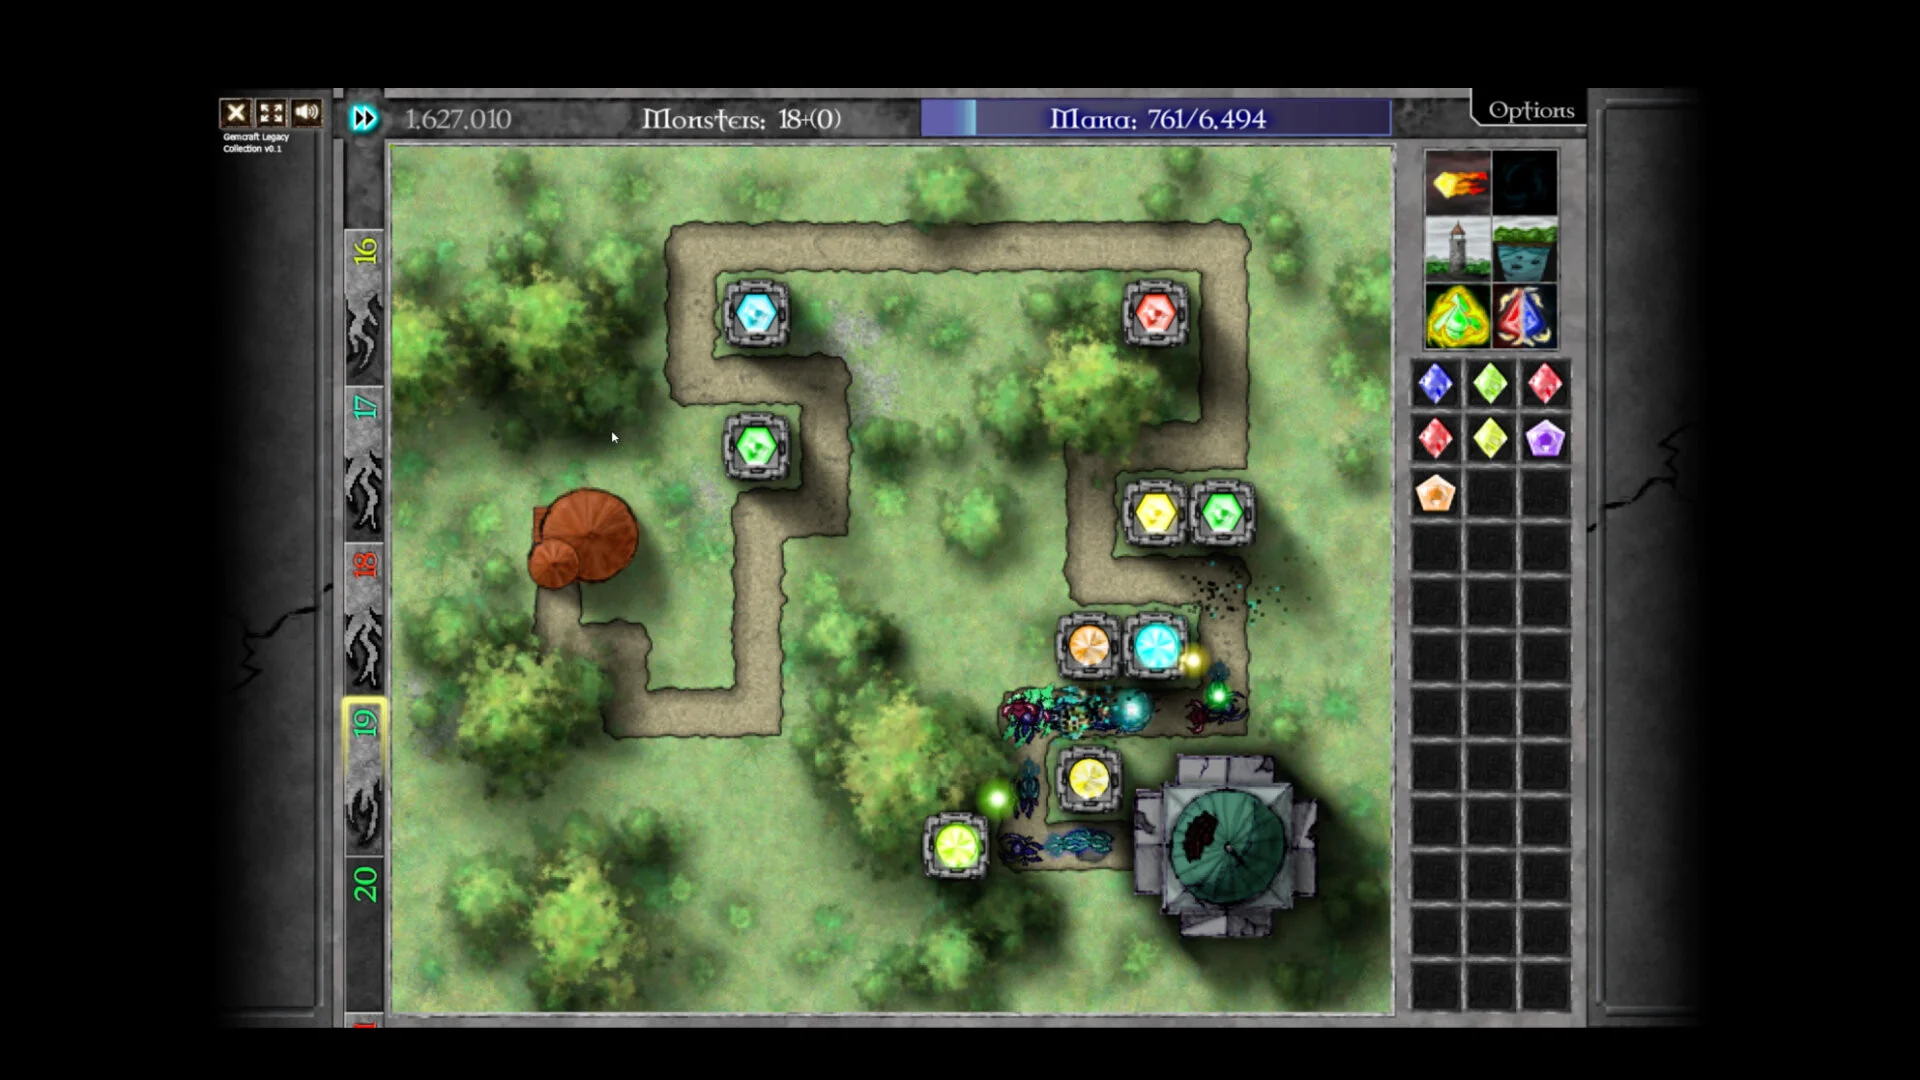
- GemCraft Legacy Collection all levels span three games: The Forgotten, Chapter Zero, and Labyrinth.
- Progress route: Start with GemCraft 1, move to Chapter 0, finish with Labyrinth's exploration map.
- Skill rule: Spend points on the problems each field presents, not a fixed universal order.
- Mana discipline: Keep reserves before combining gems so you can respond to tough waves.
- Endurance prep: Respec into mana efficiency and armor counterplay before long battles.
How All Levels Are Organized
GemCraft Legacy Collection bundles three complete campaigns on Steam, released October 21, 2026, with over 100 hours of content and roughly 385 achievements. Each game handles level progression differently, so understanding the structure first saves hours of frustration.
Video Highlights:
- Three classic games in one collection
- Over 100 hours of maps, skills, and challenges
- Gem combining remains the core system across all levels
| Game | Level Structure | Progression Style |
|---|---|---|
| GemCraft: The Forgotten | Linear campaign fields | Learn core loop: towers, traps, gem combining |
| Chapter Zero: Gem of Eternity | Expanded campaign with broader map progression | Larger skill tree and field variety |
| Labyrinth | Large explorable map with varied fields | Battle settings, endurance, wizard levels |
Play The Forgotten first to master placement and targeting, then Chapter 0, then Labyrinth. Jumping straight into Labyrinth's battle settings before understanding gem fundamentals makes several fields unnecessarily punishing.
Step-by-Step Level Clear Strategy
Use this general framework on any field in the collection. It works because every GemCraft level shares the same win condition: protect your Orb by managing mana, gems, and waves.
Read the field before building
Identify the longest shared path segment, count entrances, and check any battle settings or restrictions. Choose your kill zone based on repeated enemy exposure, not tower aesthetics.
Establish one reliable firing line
Place a dependable attacking gem in a tower covering the main path overlap. Avoid combining every gem immediately — one solid attacker beats several half-finished ones.
Add control and coverage
Use traps on high-traffic segments for slowing, poison, or repeated-contact effects. Save fast exits and side routes with secondary gems only when the map demands it.
Upgrade between waves, not during crisis
Pause before expensive changes. Upgrade the well-positioned gem rather than building replacements. Watch which enemies survive your main attack and counter that property specifically.
Layer a final safety position
Keep a fallback defense near the Orb for fast or armored leakers. Reserve control spells for wave overlap and burst effects for the strongest enemy timing.
Spending all starting mana on early upgrades leaves no reserve for emergency gems or spells. Fields with multiple paths punish overbuilding a single expensive tower — prioritize coverage and target access instead.
Level Types and Best Builds
No single build clears every level. Match your setup to the dominant threat on each field using these tested templates.
Standard Kill-Zone
- Best for: story maps, mixed groups
- Balanced damage gem plus control support
- Trap on a long repeated path segment
Boss Burst Defense
- Best for: boss waves, short final approach
- One high-grade damage gem with armor counter
- Hold control spells until boss enters range
Armor-Counter Build
- Best for: armored enemies, high-armor settings
- Armor reduction in the first firing position
- Direct damage scales behind weakened targets
| Level Type | Gem Focus | Key Tactic |
|---|---|---|
| Dense waves | Chain hit, splash, damage | Control spells before crowds reach the exit zone |
| Fast enemies | Slowing gems in traps | Layered defense near the Orb |
| High-health targets | Critical hit, high-grade damage | Burst during longest exposure window |
| Endurance fields | Scalable damage plus mana stealing | Central kill zone, upgrade over time |
| Restricted gem fields | Pure single-effect gems | Adapt to allowed colors, respec if needed |
Choose combinations by identifying what actually stops your defense: armor tearing against armor, slowing against speed, chain hit against groups, and mana stealing when income limits the build.
Skill Points Across All Levels
Skills should solve recurring field problems. The right allocation shifts as enemy health, armor, and battle modifiers scale up across the three campaigns.
| Phase | Skill Priority | When to Respec |
|---|---|---|
| Early game | Mana generation, gem efficiency, basic damage | Only if spread blocks several maps |
| Mid game | Mana Leech, critical hit scaling, tower and trap improvements | When battle settings clash with your build |
| Late game | Armor penetration, spell power, gem-grade support | Before endurance or high-difficulty cleanup |
A full reset is justified when moving from ordinary maps to high-level endurance or fields with severe traits. Rebuild around the specific threat rather than preserving an early-game generalist setup.
Completion Checklist for All Levels
Complete normal progression first, record which fields are cleared under special conditions, then return with dedicated builds for the hardest objectives.
Level Completion Milestones:
- Clear the GemCraft: The Forgotten campaign fields
- Finish Chapter Zero: Gem of Eternity progression
- Complete Labyrinth map exploration and wizard levels
- Collect battle amulets and field-specific objectives
- Clear endurance and high-difficulty challenge fields
Replay cleared maps with a specialized build when your original campaign setup was not designed for a specific amulet or challenge objective. Dedicated cleanup passes are far more efficient than chasing every objective on the first attempt.
FAQ
Q: How many levels are in GemCraft Legacy Collection?
The collection contains all fields from three complete games — The Forgotten, Chapter Zero, and Labyrinth — totaling over 100 hours of content, including endurance and challenge variants across the map systems.
Q: What order should I play the levels in?
Start with The Forgotten to learn the core rules, continue into Chapter Zero for expanded progression, then tackle Labyrinth last, since its battle settings and exploration systems assume familiarity with gem combining and mana management.
Q: Why am I stuck on a level that was easy before?
Most sticking points come from using a short-battle build on a field that requires sustained scaling, or from not adjusting to the map's battle settings. Identify which enemy property survives your attacks and respec or re-gem around it.
Q: Should I combine every gem as soon as possible?
No. Combining too early reduces map coverage and leaves too little mana for the next wave. Retain several lower-grade gems when enemies approach from different routes or a difficult wave is coming.