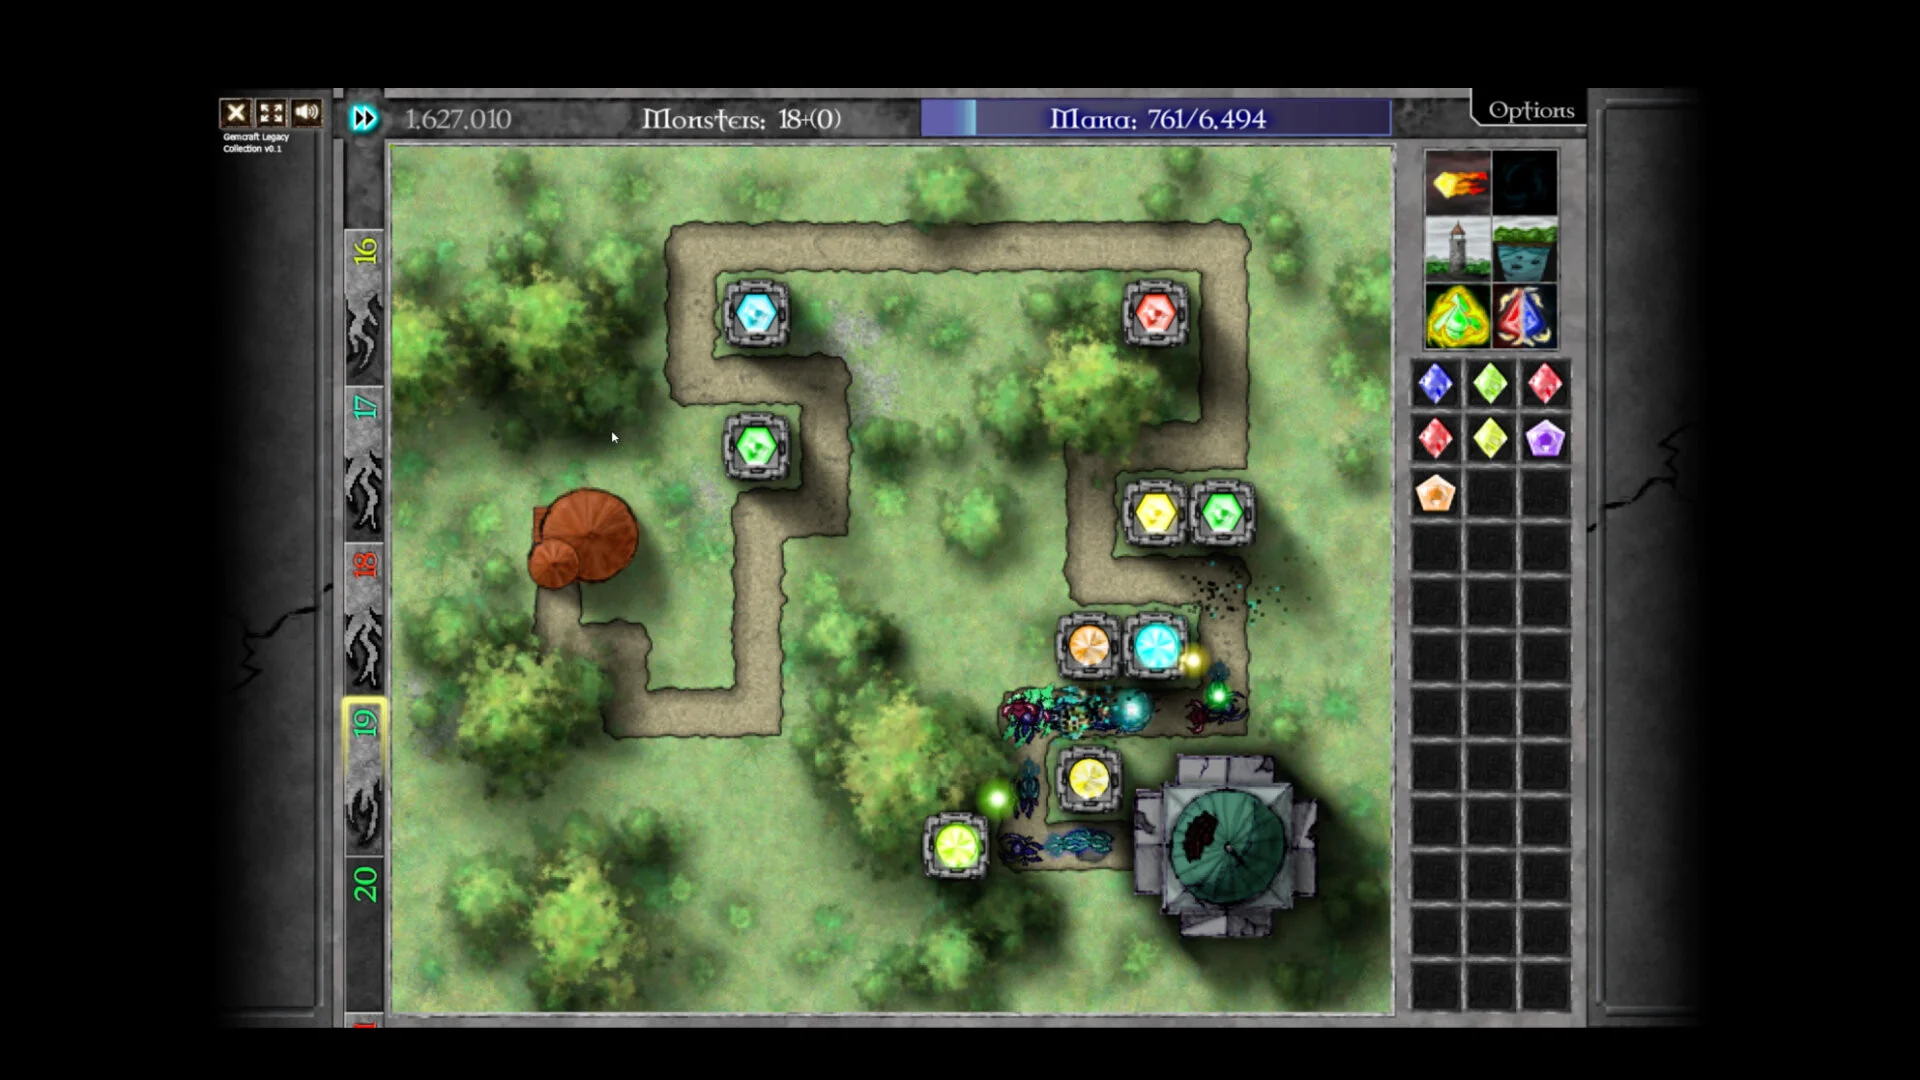
- GemCraft Legacy Collection bundles three classic tower defense games into one Steam release with 385 achievements.
- Play order matters: start with The Forgotten, then Chapter Zero, then Labyrinth for the deepest systems.
- Mana discipline wins maps: keep reserves before combining gems or overbuilding towers.
- Read battle settings first: each field's modifiers should drive your gem and skill choices.
- Endurance scaling: one strong central kill zone beats several scattered weak towers.
Level Guide Overview: How the Three Games Progress
This GemCraft Legacy Collection level guide breaks down how maps and fields are structured across the three included games — GemCraft: The Forgotten, GemCraft Chapter Zero, and GemCraft Labyrinth — and how to approach each stage of the campaign. The collection launched on Steam on October 21, 2026, with over 100 hours of content and improvements like fast-forward and hotkey support.
Video Highlights:
- Official trailer introducing all three included GemCraft games
- Overview of gem forging, maps, skills, and achievements
- More than 100 hours of combined content across the collection
The core loop is consistent across every game: place gems in towers or traps, combine them into higher grades, spend skill points deliberately, and protect your Orb while managing mana. What changes between chapters is the structure of progression.
| Game | Map Structure | Difficulty Curve | Best For |
|---|---|---|---|
| The Forgotten | Foundational linear campaign | Gentle, teaches the basics | New players |
| Chapter Zero | Broader campaign, expanded skill system | Moderate, more systems | Building fundamentals |
| Labyrinth | Map-based exploration, battle settings | Steep, highly replayable | Advanced players |
Start with The Forgotten to internalize placement, targeting, and combining rules. Chapter Zero then expands your skill and map options, and Labyrinth rewards everything you have learned with exploration, endurance, and challenge content.
How to Approach Any Field: A Step-by-Step Method
Every map in the collection is a tactical puzzle. Instead of memorizing a single build, apply a repeatable method to every field you enter.
Read the battle settings first
Before spending any mana, check the field's modifiers, restrictions, and win conditions. Battle settings determine which gem colors, traps, and spells are actually viable on this map.
Identify the longest shared path
Find where multiple path segments overlap or where enemies pass repeatedly. This is where your central kill zone belongs, because attack time — not raw damage — is the real currency of GemCraft.
Establish one reliable firing line
Place a tower with a dependable damage gem near the first major intersection. Do not combine every available gem immediately; coverage across routes matters more than one expensive upgrade early.
Observe the first waves and adapt
Watch which enemies survive your main attack. Respond with armor-tearing gems against armored foes, slowing gems against fast ones, and chain-hit gems against dense groups rather than committing to one damage type.
Scale the kill zone between waves
Upgrade the well-positioned gem before building replacements, add traps on high-traffic segments, and use amplifiers to strengthen your key tower instead of spreading upgrades thin.
The most frequent stuck point across all three games is overspending mana on early upgrades, leaving nothing for emergency gems, spells, or reinforcements when a difficult wave arrives. Always keep a reserve.
Map Types and Recommended Builds
Different maps demand different defensive packages. Match your build to the field's dominant threat.
Standard Kill-Zone Build
- Balanced damage gem plus one utility gem
- Main tower on overlapping path sections
- Trap on a long repeated segment
- Best for story maps and mixed groups
Boss Burst Defense
- One concentrated high-grade damage gem
- Armor-countering or critical support
- Tower at the longest sightline before the exit
- Hold control spells for the boss window
Swarm Control Build
- Splash and chain-hit gems with slowing support
- Traps where the largest groups pass
- Control towers at bends and intersections
- Area spells while enemies are grouped
For endurance and high-difficulty fields, invest in one scalable central defense and add support only when the current wave level demands it. Overbuilding multiple weak towers before your main gem reaches a sufficient grade is the fastest way to lose a long battle.
Gem Choices by Enemy Threat
Choose your next gem combination by identifying which enemy property is actually breaking your defense.
| Enemy Threat | Recommended Gem Effect | Placement Advice |
|---|---|---|
| Ordinary health | Direct damage | Tower with long exposure |
| High armor | Armor-tearing | First major firing position |
| Fast movement | Slowing | High-traffic trap or corner tower |
| Dense groups | Chain hit, splash | Central overlapping lanes |
| Durable over time | Poison | Repeated-contact trap zones |
| Mana-starved maps | Mana stealing | Positions with consistent targets |
| Game Phase | Skill Priority | Reason |
|---|---|---|
| Early game | Mana income, gem efficiency, basic damage | Fuels every later decision |
| Mid game | Specialization in one or two gem colors | Concentrated investment outperforms even spreads |
| Late game | Damage scaling, armor counterplay, spell power | Keeps pace with wave scaling |
Do not reset skills after a single failed field. Reset when your current spread blocks progress across several maps, or when a new mode — endurance, challenge, or trait-heavy fields — demands a different specialization entirely.
Level Progression Checklist
Work through the campaign in order, then return with specialized builds for cleanup objectives like battle amulets and hidden maps.
Campaign Milestones:
- Complete The Forgotten campaign to learn core mechanics
- Progress through Chapter Zero and expand your skill system
- Clear Labyrinth fields and unlock battle settings
- Record cleared maps and remaining amulet objectives
- Respec for endurance and challenge content in a final cleanup pass
Many objectives are tied to how a battle is won rather than whether you win. Collect straightforward amulets during the campaign, then replay cleared maps with dedicated builds for survival, speed, or kill-count goals.
FAQ
Q: What is the recommended play order in GemCraft Legacy Collection?
Start with The Forgotten to learn placement, targeting, and gem combining. Move to Chapter Zero for the expanded campaign and skill system, then play Labyrinth for map exploration, battle settings, and endurance challenges.
Q: How do I stop losing levels because of mana problems?
Keep a mana reserve before every difficult wave. Establish one reliable firing line first, grow your mana pool through early kills, and avoid combining every gem or overbuilding towers at the start of a map.
Q: Should I use pure gems or mixed gems in this level guide?
Use pure gems when one effect is the clear answer to the map's dominant threat. Create hybrids only after your defense is stable and you know which enemy type is causing pressure — unfocused combinations often perform worse than two specialized gems.
Q: Do the three games share progression or unlocks?
No. Each game in the collection keeps its own campaign, skills, and unlock structure. Progress made in The Forgotten does not carry codes or unlocks into Chapter Zero or Labyrinth, so treat each chapter's systems separately.