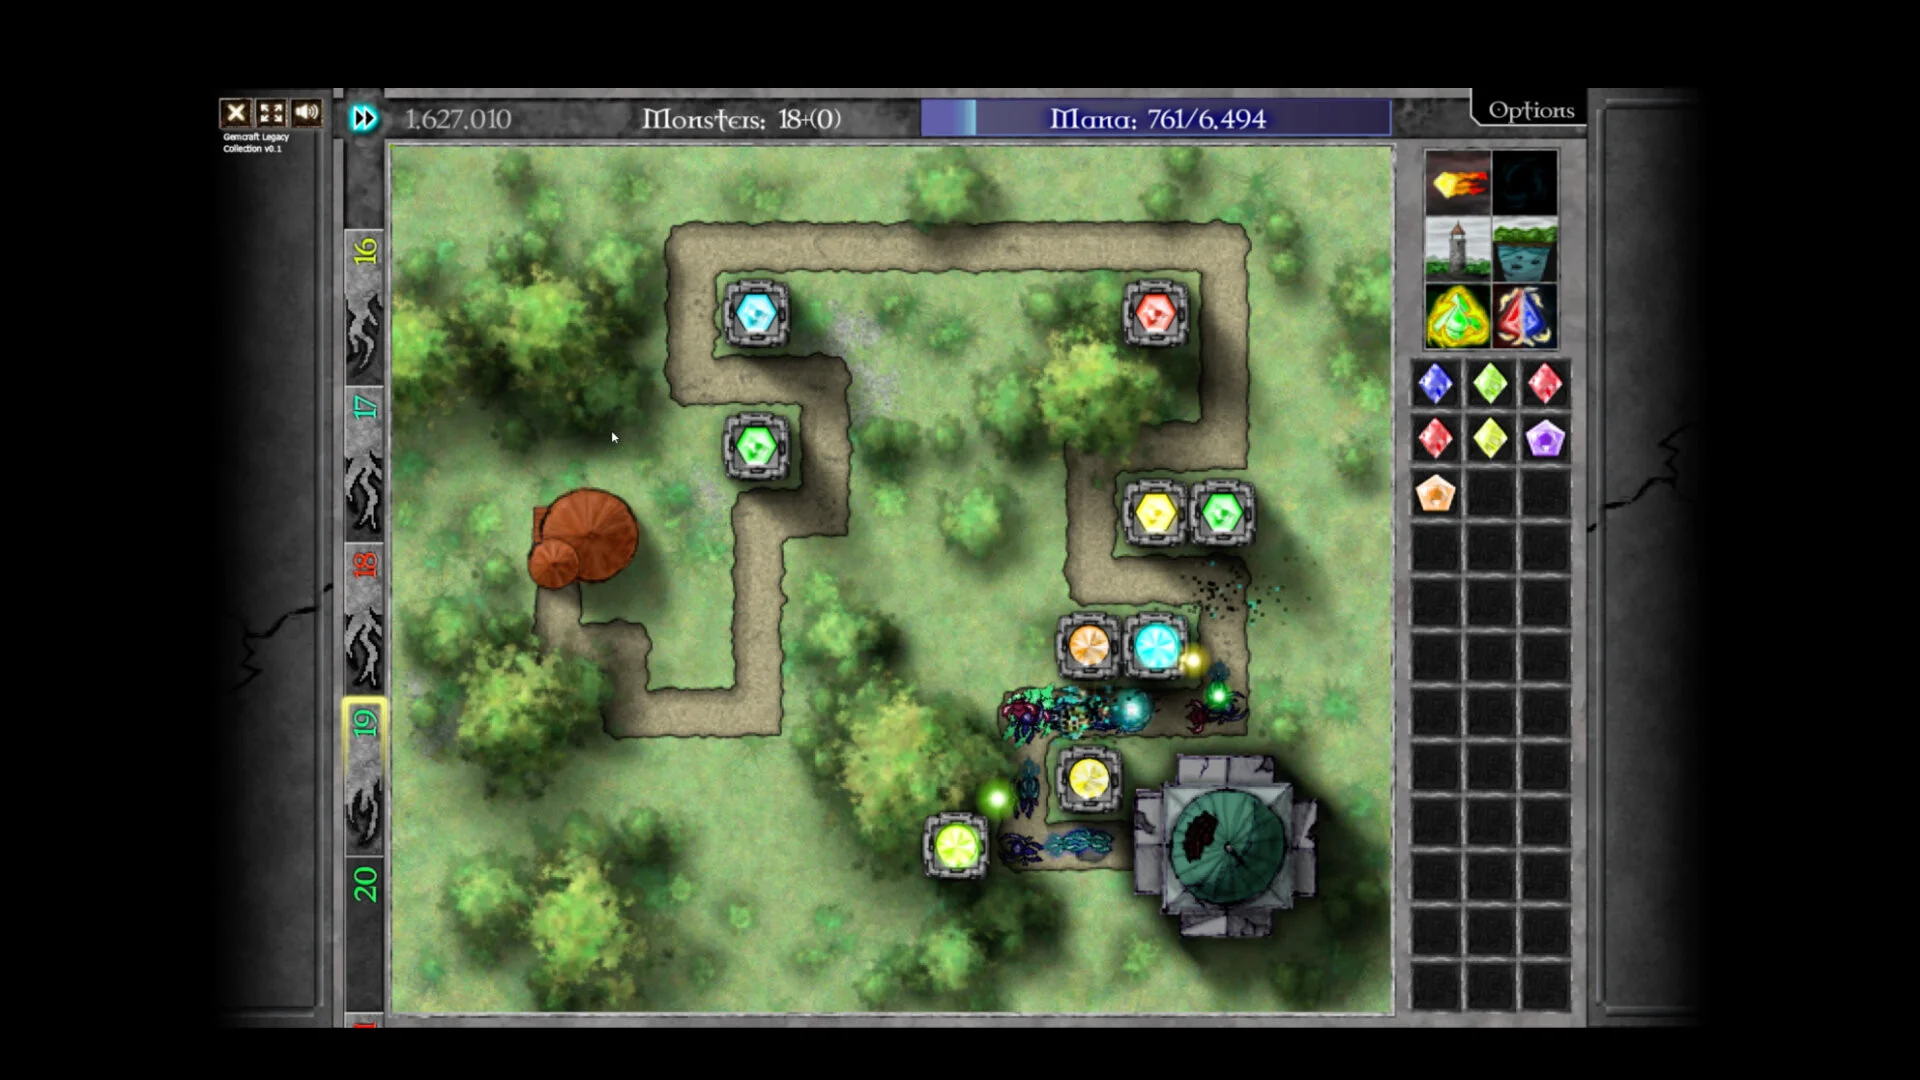
- GemCraft Legacy Collection walkthrough covers all three games: The Forgotten, Chapter Zero, and Labyrinth.
- Play in release order: The Forgotten first, Chapter Zero second, Labyrinth last for the smoothest curve.
- Core loop: Place gems in towers and traps, combine for higher grades, and protect your Orb while managing mana.
- Mana discipline wins maps: never combine every gem before a hard wave.
- 385 achievements across the collection reward staged cleanup after campaign completion.
GemCraft Legacy Collection Walkthrough: Where to Start
This GemCraft Legacy Collection walkthrough begins with the most important decision: play order. The collection bundles three classic tower defense games with over 100 hours of content, and each chapter builds on the systems of the last. Starting in the wrong chapter makes early maps punishing; starting in the right one teaches you gem forging naturally.
Video Highlights:
- Official trailer introducing all three included GemCraft games
- Shows gem forging, map variety, skills, and achievements
- Over 100 hours of content and roughly 385 achievements highlighted
- Available on Steam as of October 21, 2026
The recommended progression order is straightforward:
| Order | Game | What It Teaches | Difficulty |
|---|---|---|---|
| 1 | GemCraft: The Forgotten | Basic gem placement, combining, tower and trap positioning | ★★☆☆☆ |
| 2 | GemCraft Chapter Zero: Gem of Eternity | Larger campaign structure, broader skill and map progression | ★★★☆☆ |
| 3 | GemCraft Labyrinth | Map exploration, battle settings, endurance, wizard progression | ★★★★☆ |
Skip hybrid gem experiments in the early hours. Pure gems with one clear effect teach you what each color does before you start mixing properties.
Stage-by-Stage Clear Strategy
Every map in the collection follows the same tactical rhythm. This walkthrough condenses that rhythm into a repeatable process you can apply to any field in any of the three games.
Read the field before building
Identify the longest shared path, the entrances, and the exit near your Orb. Note how many building sockets exist and whether traps or amplifiers are available on this map.
Establish one central kill zone
Place your first tower where multiple path segments overlap. A single well-positioned gem with long exposure outperforms several gems in poor locations.
Secure mana income early
Spend enough to establish a reliable firing line, then let early kills grow your mana pool. Resist combining every gem immediately; reserves win hard waves.
Add a control layer
Introduce a slowing or armor-tearing gem once enemy speed or armor starts letting targets survive your main damage. Place it before the kill zone so damage gems benefit.
Upgrade in place, then expand
Improve the gem that is already well positioned before building weaker replacements. Expand to secondary positions only when the core zone can no longer hold the path.
The most frequent loss cause across all three games is overbuilding early. If you spend all mana on upgrades before wave three, you have no answer to fast or armored enemies later.
Gem Selection by Situation
No single gem dominates every map. This walkthrough recommends choosing gems based on the enemy property actually breaking your defense.
| Enemy Problem | Recommended Gem Effect | Best Placement |
|---|---|---|
| Ordinary health, simple defenses | Direct damage | Central tower with long range coverage |
| Heavy armor | Armor tearing, supported by damage | First major firing position |
| Fast enemies | Slowing | Before the kill zone, near entrances |
| Dense groups | Chain hit or splash | Path intersections and bends |
| Long battles, mana limits | Mana stealing, poison | High-traffic trap positions |
| Boss-like targets | Critical hit, bloodbound | Final tower on longest sight line |
Damage Core Build
- Red or yellow damage gems in the main tower
- One support gem for range or splash
- Best for early and mid-campaign maps
Control Build
- Slowing plus armor-tearing gems stacked before damage
- Extends exposure time for every tower
- Best for fast and armored enemy fields
Endurance Build
- Scalable main gem plus mana-efficient support
- Separate emergency control gem
- Best for endurance and challenge modes
Combine gems of the same grade only when the new gem immediately gains better range, damage, or effect strength than the gems being consumed. Never merge your only gems covering separate routes.
Skill Route by Game Phase
Skill points should solve recurring map problems rather than follow a fixed universal order. This walkthrough splits the route into three phases that apply across all three games.
| Phase | Priority Skills | Purpose |
|---|---|---|
| Early | Mana generation, gem efficiency, basic damage and range | Build a resource-positive opening |
| Mid | Mana Leech, critical hit, trap and tower performance | Specialize around map and enemy composition |
| Late | Damage scaling, armor counterplay, spell power, control | Handle endurance and high-difficulty fields |
Key principles for skill investment:
- Concentrated investment in the skills matching your most-used gems produces stronger early results than spreading points evenly.
- Revisit your allocation whenever a map's enemy composition or battle mode changes significantly.
- A full reset is justified when moving from ordinary maps to endurance or challenge modes with severe traits.
Do not reset after a single failed field. Reset only when your current skill spread blocks progress across several maps, or when a new mode demands a different specialization.
Completion Route and Endurance Tips
With roughly 385 achievements in the collection, completion is far easier when progression and cleanup are separated. Clear the campaigns first, record which maps are done, then return with specialized builds.
Full Completion Milestones:
- Complete campaign maps in The Forgotten, Chapter Zero, and Labyrinth
- Collect straightforward battle amulets during the campaign
- Unlock and explore hidden maps and special challenges
- Respec for endurance and high-difficulty modes
- Finish remaining achievements in a dedicated cleanup pass
For endurance and special battle modes, the rules change:
| Mode Feature | Walkthrough Approach |
|---|---|
| Wave scaling | Invest in one scalable central kill zone early |
| Battle traits | Read field conditions before selecting gems and skills |
| Long mana economy | Favor mana returns and gem efficiency over early-wave bonuses |
| Boss timing | Reserve control and burst spells for the strongest wave window |
Overbuilding multiple towers before your main gem reaches a grade capable of handling scaling enemies is the most common endurance failure. Add support positions only when required.
Walkthrough FAQ
Q: What order should I play the games in this GemCraft Legacy Collection walkthrough?
Start with GemCraft: The Forgotten to learn the core rules, continue to Chapter Zero: Gem of Eternity for expanded progression, then play GemCraft Labyrinth last for the deepest map exploration, battle settings, and endurance challenges.
Q: Should I combine every gem as soon as possible?
No. Combining too early reduces map coverage and leaves too little mana for the next wave. Keep enough low-grade gems to cover multiple routes, and upgrade in the positions that receive the most attack time.
Q: When should I reset my skill points?
Reset only when your current skill spread prevents progress across several maps, or when switching to endurance, challenge modes, or fields with severe traits that require a different specialization.
Q: How do I handle heavily armored enemies?
Place an armor-tearing gem in the first major firing position so every later damage source benefits from weakened targets, then support it with direct damage and critical-hit scaling in towers with long exposure.