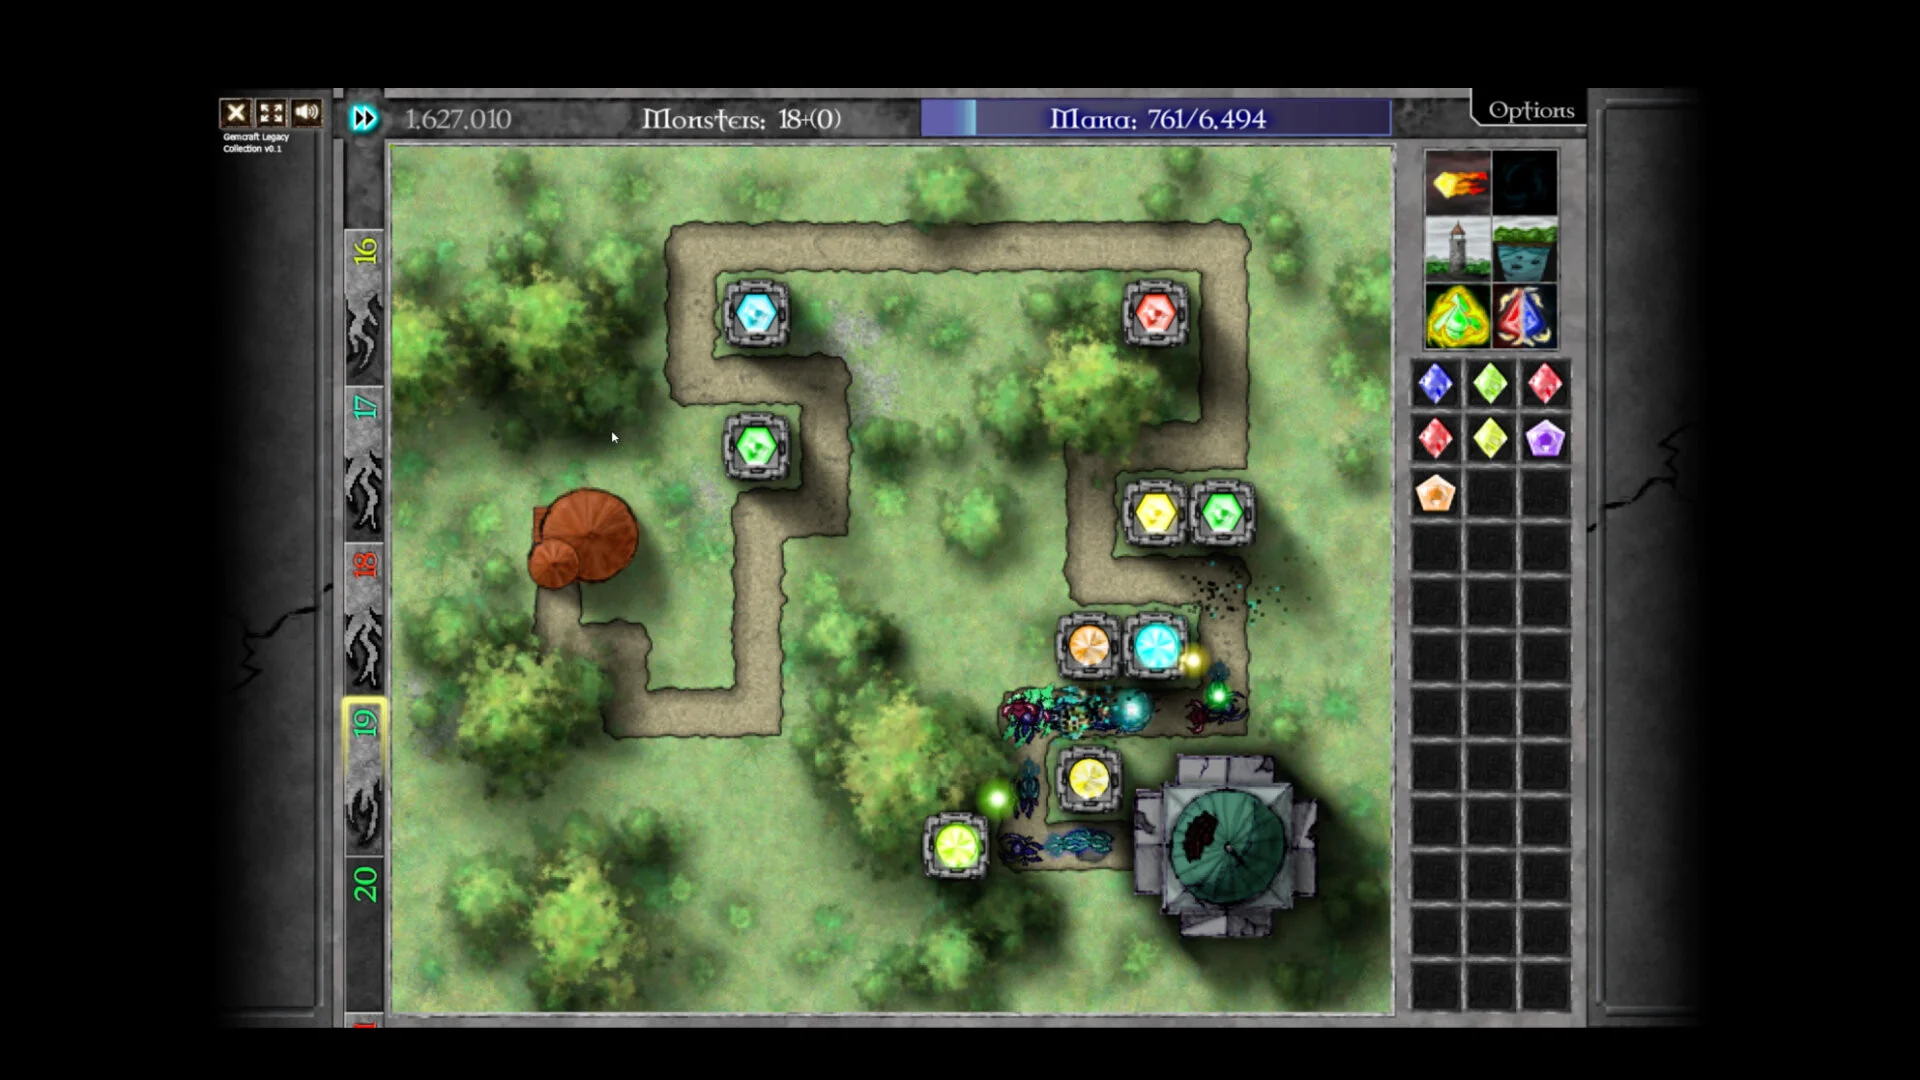
- GemCraft Legacy Collection bundles three classic gem-forging tower defense games on Steam with 385 achievements and 100+ hours of content.
- Play order: Start with GemCraft: The Forgotten, then Chapter Zero, then Labyrinth.
- Core loop: Place gems in towers and traps, combine them into higher grades, and manage mana across waves.
- Mana rule: Never spend your whole mana pool on upgrades before the next wave arrives.
- Beginner trap: Avoid mixing every gem color early—pure gems are easier to control and upgrade.
What Is GemCraft Legacy Collection?
GemCraft Legacy Collection released on Steam on October 21, 2026, bringing together three chapters of the classic gem-forging tower defense series in one package: GemCraft: The Forgotten, GemCraft Chapter Zero: Gem of Eternity, and GemCraft Labyrinth. The collection adds fast-forward support, hotkeys, screen scaling, and performance improvements over the original browser releases. With more than 100 hours of content and roughly 385 achievements, it is a substantial package for both returning fans and first-time wizards.
Video Highlights:
- The collection includes all three classic GemCraft chapters
- Over 100 hours of maps, skills, and challenges
- Gem combining, skill systems, and achievements are core features
- Quality-of-life additions like fast-forward and hotkeys
The core loop is consistent across all three games: forge gems, place them in towers or traps, combine matching gems to raise their grade, cast spells, and defend your Orb from unbroken enemy waves. Mana is your universal resource—it pays for gems, buildings, spells, and summons—so every decision ultimately comes back to mana efficiency.
If you have never played a GemCraft game before, begin with GemCraft: The Forgotten. It teaches placement, targeting, and combining rules with the least systemic complexity, then Chapter Zero and Labyrinth layer on deeper skill and progression systems.
Choosing Your Play Order
The three included games share mechanics but differ sharply in structure and difficulty curve. Picking the right order prevents early frustration.
| Game | Focus | Difficulty for Beginners | Key Systems |
|---|---|---|---|
| GemCraft: The Forgotten | Core rules, basic campaign | Easy | Gems, towers, traps, basic skills |
| Chapter Zero: Gem of Eternity | Expanded campaign, broader progression | Medium | Larger skill tree, more maps |
| GemCraft Labyrinth | Exploration and battle settings | Medium-Hard | Map progression, battle modifiers, endurance |
The Forgotten First
- Best entry point for new players
- Teaches fundamental placement and combining
- Shortest path to understanding the loop
Chapter Zero Second
- Expanded skills and maps
- Introduces longer progression planning
- Good bridge to deeper systems
Labyrinth Last
- Deepest challenge content
- Battle settings and endurance modes
- Rewards mastery of gem synergy
Do not start with Labyrinth's harder fields or endurance modes. Battle modifiers can dramatically increase enemy armor and health, punishing players who have not yet learned efficient gem placement and mana economy.
Gem Basics: Effects and Combining
Gems are the heart of the series. Pure-color gems specialize in a single effect, while mixed gems inherit properties from every component color. Higher grades mean stronger attacks, better range, and more potent special effects.
| Gem Role | Primary Effect | Best Use Case |
|---|---|---|
| Direct damage | Reliable single-target offense | Ordinary enemies, concentrated paths |
| Chain hit | Hits multiple nearby targets | Dense waves, grouped enemies |
| Slowing | Delays enemy movement | Fast enemies, long-range towers |
| Armor tearing | Reduces enemy armor | Armored late-game waves |
| Poison | Damage over time | Long paths, sustained pressure |
| Mana stealing | Returns mana per hit | Endurance maps, resource-starved fields |
Cover the field first
Place enough low-grade gems to cover every entrance before upgrading anything. A single strong gem cannot defend two separated routes.
Combine same-grade gems deliberately
Merge matching gems only when the resulting higher-grade gem immediately gains better range, damage, or effect strength than the gems consumed.
Position for attack time
Put towers near long path segments, corners, and overlapping routes. A strong gem placed where enemies exit its range quickly is wasted value.
Specialize by enemy threat
After watching a wave, identify why enemies survived—armor, speed, or numbers—and combine gems that answer that specific problem.
Resist combining everything as soon as it appears. Keeping two mid-grade gems on separate routes is often stronger than one high-grade gem covering a single lane, and it preserves flexibility for surprise waves.
Mana, Towers, and Traps
Mana management separates struggling beginners from consistent winners. Every tower, trap, gem, spell, and summon drains the same pool, and income comes mainly from killing enemies.
| Structure | Role | Best Gem Type |
|---|---|---|
| Tower | Ranged sustained attacks | Damage, armor tearing, chain hit |
| Trap | Effects on repeated path contact | Slowing, poison, mana stealing |
| Amplifier | Boosts a nearby key gem | Supports your best-placed gem |
- Build a layered defense: early control at the entrance, concentrated damage in the middle, and a final safety position near your Orb.
- Pause before expensive changes: use the pause and speed controls to inspect the battlefield safely before committing mana.
- Upgrade in place: improving a well-positioned gem usually beats building several weaker replacements.
Keep a mana buffer before each wave. Newcomers who empty their pool on upgrades often cannot respond when a fast or armored group breaks through, and a leaked enemy costs you the map.
Skill Points for New Players
Skill points should solve the problems you actually face rather than following a fixed order. Concentrated investment in a few relevant skills produces stronger results than unlocking every niche option at once.
| Phase | Priority Skills | Why |
|---|---|---|
| Early | Mana generation, gem efficiency, basic damage | Stabilizes income and core offense |
| Mid | Damage scaling, armor counters, control effects | Answers tougher mixed waves |
| Late | Armor penetration, spell power, mana efficiency | Sustains long endurance battles |
First 10 Hours Goals:
- Clear the opening maps of The Forgotten without leaks
- Learn same-grade combining and gem positioning
- Build a mana-focused early skill foundation
- Reach Chapter Zero and plan skill specialization
- Complete one field using traps for control effects
Do not reset skills after a single failed field. Reset only when your current spread blocks progress across several maps, or when a new mode demands a different specialization.
FAQ
Q: Which game in the GemCraft Legacy Collection should I play first?
Start with GemCraft: The Forgotten. It teaches the core rules of gem placement, targeting, and combining with the least complexity. Move to Chapter Zero for expanded progression, and save Labyrinth's deeper systems for when you are comfortable with the fundamentals.
Q: Should I combine my gems right away in GemCraft Legacy Collection?
Not always. Cover all routes with low-grade gems first, then combine same-grade gems only when the higher-grade result clearly improves range, damage, or effect strength. Keeping separate gems on separate routes often outperforms one big gem.
Q: What is the most common beginner mistake?
Overspending mana on early upgrades and leaving no reserve for emergency gems, spells, or reinforcements. A leaked enemy usually costs the map, so always keep a mana buffer before calling the next wave.
Q: Are pure gems or mixed gems better for beginners?
Pure gems are easier to control because they deliver one clear primary effect. Add mixed gems only after your basic defense is stable and you know exactly which enemy property is causing problems.
Sources: Steam store page, Game in a Bottle, Armor Games Studios