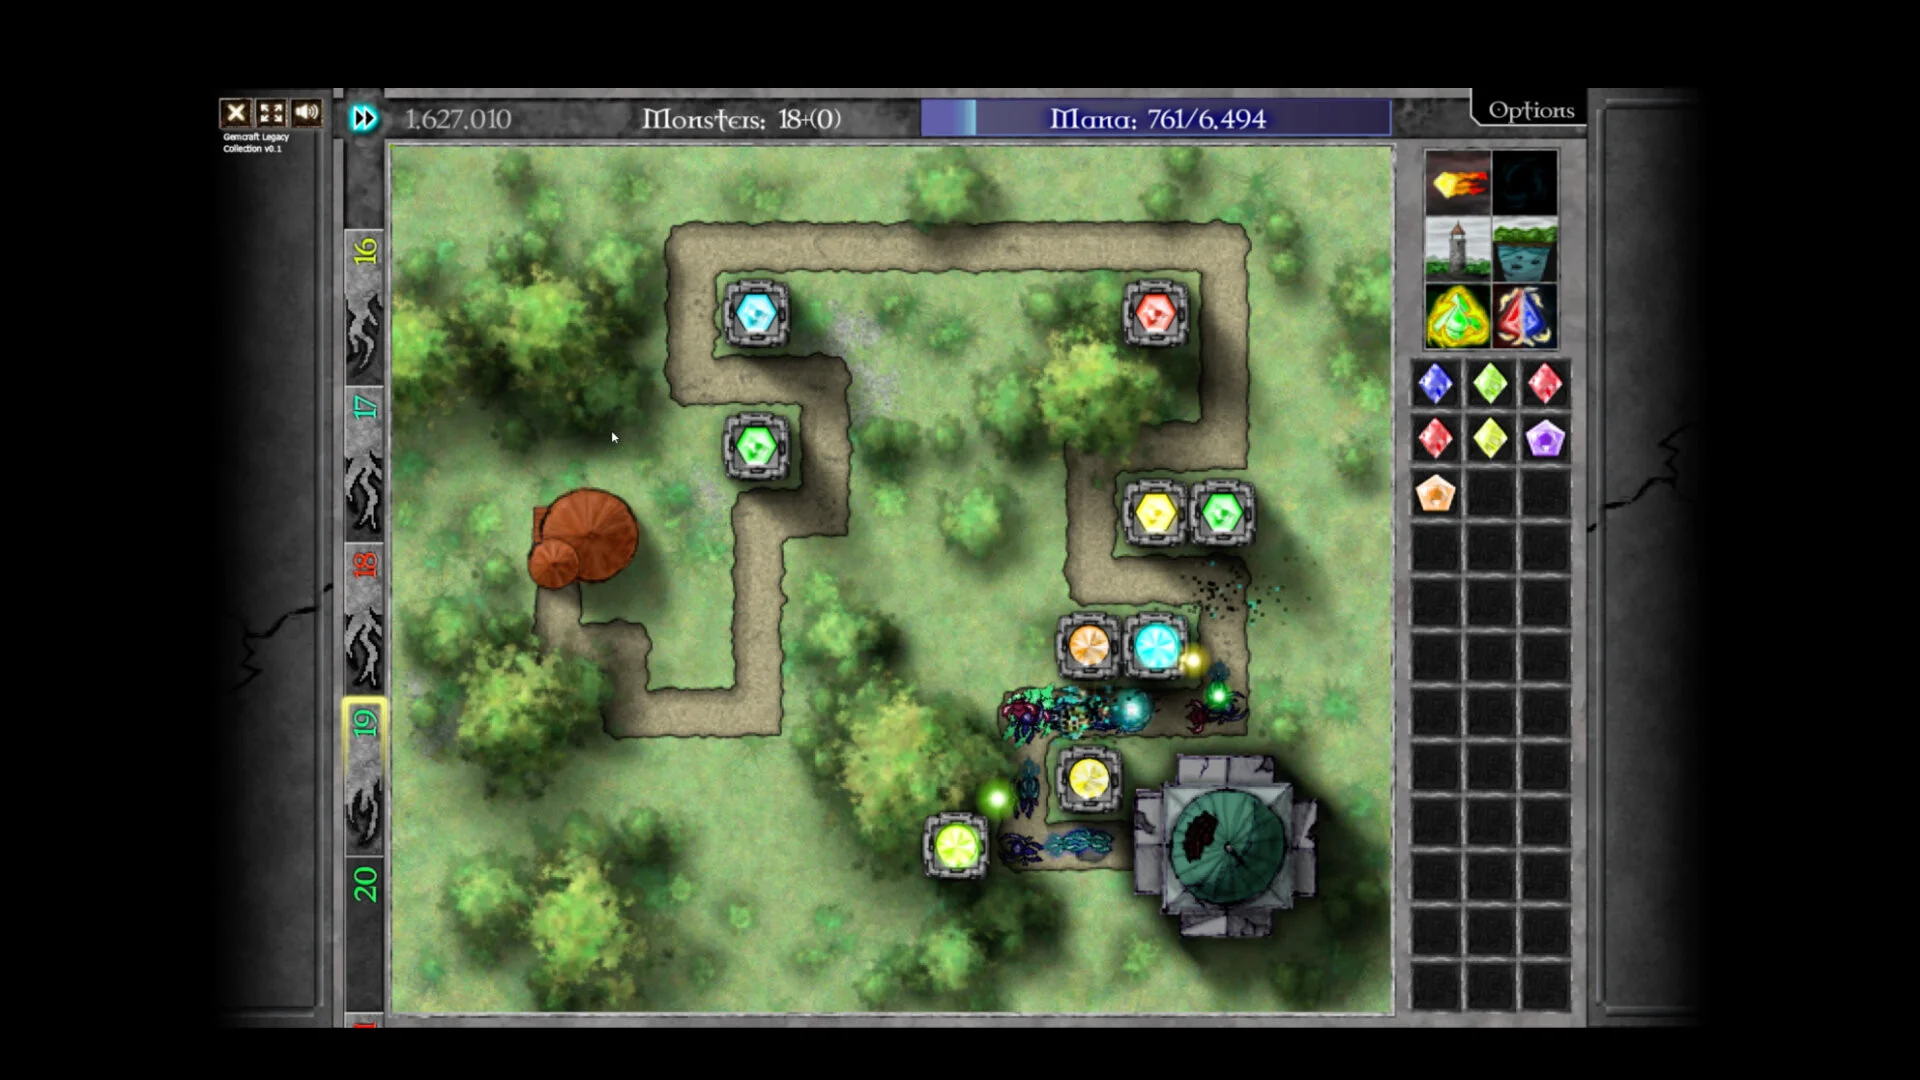
- GemCraft Legacy Collection 100% walkthrough: clear campaigns, amulets, hidden maps, and endurance in ordered phases
- Three games, one route: finish GemCraft, then Chapter 0, then Labyrinth progression
- 385 achievements: split completion into campaign, amulet, challenge, and endurance passes
- Skill planning matters: respec between phases instead of forcing one universal build
- Separate progression and cleanup: never chase restrictive amulets during first clears
100% Walkthrough Overview and Collection Structure
The GemCraft Legacy Collection packages three classic tower defense games — GemCraft: The Forgotten, GemCraft Chapter Zero, and GemCraft Labyrinth — into a single Steam release with more than 100 hours of content and roughly 385 achievements. A 100% completion run is a long-term project, and trying to collect everything in a single pass through each map is the most common cause of burnout and wasted resources.
The official trailer below summarizes what the collection includes and why a phased approach works best.
Video Highlights:
- All three classic GemCraft titles in one package
- Over 100 hours of maps, skills, and challenges
- Gem forging and combining as the core system
- Achievements as a central long-term goal
The completion route divides into four phases, each with a distinct goal:
| Phase | Goal | Typical Skill Focus |
|---|---|---|
| 1. Campaign | Clear all story maps in all three games | Mana, damage, range basics |
| 2. Amulets | Earn battle amulets and map objectives | Objective-specific setups |
| 3. Hidden content | Unlock special maps and challenges | Flexible, respecced builds |
| 4. Endurance | Survive long battles and hardest challenges | Scaling damage, mana efficiency |
Restrictive amulets and endurance objectives often conflict with a normal clear build. Completing the campaign first, then returning with a dedicated setup, saves hours of failed retries and respec costs.
Recommended Play Order and Campaign Progression
Start with the original GemCraft to internalize placement, targeting, and combining rules, then move to Chapter Zero for its expanded campaign structure, and finish with Labyrinth, which adds map exploration, battle settings, and wizard progression.
Learn fundamentals in GemCraft: The Forgotten
Clear the founding campaign while practicing tower and trap placement, basic gem combining, and mana reserve management. Do not chase amulets yet — mark maps cleared and move on.
Expand progression in Chapter Zero
Work through the larger campaign and skill systems. Note which fields felt resource-starved; these notes guide later respec decisions.
Master Labyrinth systems
Engage map-based progression, battle settings, and wizard leveling. Adjust builds per field instead of forcing one setup everywhere.
Record completion status
Track cleared maps, earned amulets, and unlocked hidden fields immediately so later cleanup runs target only unfinished objectives.
| Game | Role in the Route | Key Systems |
|---|---|---|
| The Forgotten | Fundamentals and first clears | Basic gems, towers, traps, mana |
| Chapter Zero | Expanded campaign and skills | Broader progression, challenge structure |
| Labyrinth | Deep completion content | Battle settings, exploration, endurance |
Spending all mana on early gem upgrades leaves no reserve for emergency gems or spells. Keep enough mana to respond to fast or armored waves before committing to a high-grade combine.
Gem and Build Toolkit for Completion Objectives
Different objectives demand different setups. These templates cover the main categories you will revisit during the amulet and endurance phases.
Standard Kill-Zone Build
- Balanced damage plus control gem
- Tower where path sections overlap
- Trap on long repeated segments
- Best for first clears and mixed waves
Armor-Counter Build
- Armor-tearing gem first
- Supported by damage and critical scaling
- Place before other damage sources
- Best for armored and high-trait fields
Endurance Scaling Build
- One scalable central kill zone
- Mana-efficient support gems
- Cycled spells by wave schedule
- Best for endurance and challenge modes
Match gem effects to the problem each objective presents:
| Effect | Best Use Case | Objective Fit |
|---|---|---|
| Direct damage | Ordinary health pools | Fast-clear amulets |
| Chain hit | Dense groups | Kill-count objectives |
| Slowing | Fast enemies | Survival amulets |
| Armor tearing | Armored waves | High-armor battle settings |
| Poison | Sustained damage | Long endurance battles |
| Mana stealing | Resource-starved maps | Mana-based objectives |
Do not combine every gem as soon as it appears. Retain several lower-grade gems when routes are multiple, waves are unpredictable, or mana reserves are thin — coverage beats a single expensive gem during cleanup runs.
Achievement and Amulet Cleanup Route
With campaigns cleared, shift to the cleanup phase. Battle amulets reward how a battle is won, not just reaching the next map, so replay cleared fields with purpose-built setups.
Sort remaining achievements by category
Group leftovers into amulets, hidden maps, mode challenges, and endurance. Tackle the least restrictive first.
Respec for each cleanup pass
Rebuild skills around one objective type at a time — survival, speed, kill count, or resource goals — rather than a generalist spread.
Replay with dedicated builds
Use the build templates above on previously cleared maps where enemy composition is already known.
Save hardest content for last
Reserve endurance and severe-trait fields until skills are near maxed and your gem-scaling routine is practiced.
| Cleanup Category | Difficulty | Recommended Prep |
|---|---|---|
| Straightforward amulets | ★★ | Campaign build, minor tweaks |
| Timing-sensitive amulets | ★★★ | Speed-focused respec |
| Hidden maps | ★★★ | Flexible build, exploration notes |
| Endurance completion | ★★★★★ | Maxed scaling and mana skills |
Keep brief notes on unusual field requirements after each failed special attempt. A failed run should always improve the next one instead of repeating blind.
100% Completion Checklist
Full Completion Milestones:
- Clear all campaign maps in all three included games
- Unlock every available field, battle setting, and progression option
- Earn all straightforward battle amulets during replay passes
- Complete hidden maps and special challenge content
- Finish endurance and high-difficulty objectives with a dedicated build
Unlocks in GemCraft 1, Chapter 0, and Labyrinth are version-specific and do not carry over as universal codes between chapters. Track each game's completion separately.
FAQ
Q: How long does a GemCraft Legacy Collection 100% walkthrough take?
The collection advertises over 100 hours of content. A focused 100% run — campaigns, amulets, hidden maps, and endurance — typically extends beyond that depending on how often you respec and replay maps for cleanup objectives.
Q: What order should I play the three included games?
Start with GemCraft: The Forgotten to learn core rules, continue to Chapter Zero for expanded campaign and skill systems, then play Labyrinth for map exploration, battle settings, and the deepest completion content including endurance challenges.
Q: When should I reset my skill points?
Reset only when your current spread blocks progress across several maps, or when entering a phase that demands a different specialization — such as moving from normal clears to endurance or challenge modes. Do not reset after a single failed field.
Q: Are there universal codes that unlock content across the collection?
No. Unlocks in each chapter are tied to that game's own campaign, achievement, and challenge systems. Progression must be completed inside each game's rule set rather than through a shared code.