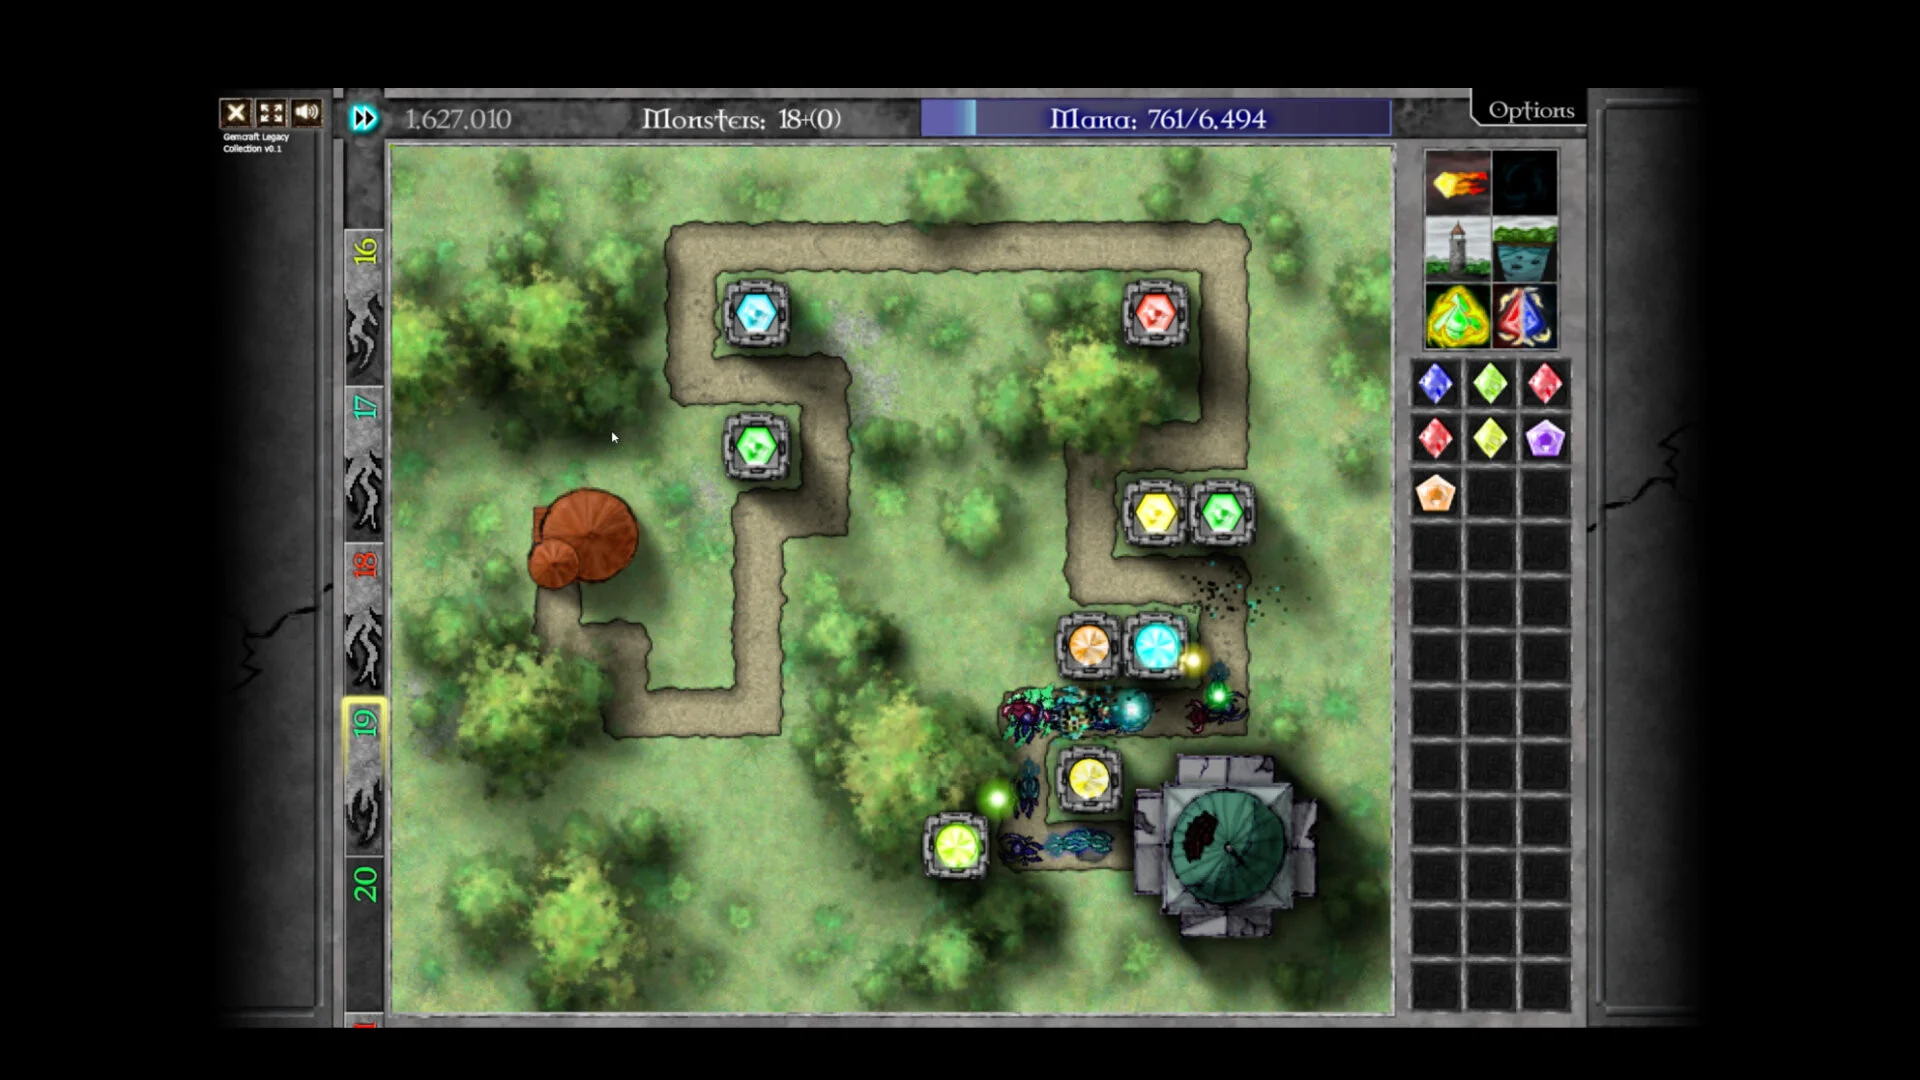
- GemCraft Legacy Collection full playthrough spans three games and over 100 hours of content
- Best order: Start with The Forgotten, then Chapter Zero, finish with Labyrinth
- Core loop: Place gems in towers and traps, combine grades, manage mana, defend the Orb
- Skill priority: Secure mana income first, then specialize around each map's enemy threats
- Cleanup phase: Save battle amulets, endurance runs, and the 385 achievements for a dedicated second pass
Playthrough Roadmap: What a Full Run Covers
A full playthrough of GemCraft Legacy Collection means far more than clearing each campaign once. The collection bundles GemCraft: The Forgotten, GemCraft Chapter Zero, and GemCraft Labyrinth into a single Steam release with roughly 385 achievements, more than 100 hours of content, and modern quality-of-life features such as fast speed controls, hotkeys, and display scaling improvements.
Video Highlights:
- Official overview of all three included games from Armor Games Studios
- Showcases gem forging, maps, skills, and the achievement system
- Confirms the 100+ hour content estimate for completionists
Before starting, understand what each game contributes to the run:
| Game | Campaign Role | Difficulty | Est. Share of a Full Run |
|---|---|---|---|
| GemCraft: The Forgotten | Core mechanics tutorial and baseline campaign | Easy to Moderate | ~25% |
| GemCraft Chapter Zero | Expanded campaign structure and progression | Moderate | ~30% |
| GemCraft Labyrinth | Map exploration, battle settings, endurance | Moderate to Hard | ~45% |
Playing Labyrinth first is possible, but its systems assume familiarity with gem combining and mana economy. A Forgotten-to-Labyrinth route produces the smoothest difficulty curve and the fewest wasted skill respecs.
Stage One: The Forgotten Fundamentals
The Forgotten teaches placement, targeting, gem combining, and mana management. Treat it as your mechanical foundation rather than a chore to rush through.
Placement Basics
- Towers for sustained range attacks
- Traps for repeated path contact
- Prioritize corners and long shared paths
Gem Fundamentals
- Pure gems give one strong effect
- Mixed gems blend component colors
- Upgrade grades only when coverage is secure
Mana Discipline
- Keep a reserve for emergency gems
- Grow income through early kills
- Never combine your only active attackers
Key decisions during this stage:
| Decision | Recommended Choice | Reason |
|---|---|---|
| First gem focus | Direct damage pure gem | Reliable against early ordinary enemies |
| First structure | Tower near path intersection | Maximizes attack time per wave |
| Early skill points | Mana and gem efficiency | Enables flexible responses between waves |
| Combining pace | Upgrade only well-placed gems | Coverage beats a single expensive tower |
Spending all mana on early gem upgrades leaves nothing for reinforcements when a wave breaks through. Always keep enough mana for one emergency gem or spell response.
Stage Two: Chapter Zero Progression
Chapter Zero expands the campaign with a broader skill and map progression system. This is where your playthrough shifts from learning mechanics to building a real wizard loadout.
Establish a Skill Core
Invest early points into mana generation, gem damage, and range. A dependable resource engine supports every later specialization without frequent respecs.
Read Fields Before Fighting
Check enemy composition, path layout, and battle settings. Choose gem colors that answer the dominant threat: armor tearing for armored foes, slowing for fast units, chain hit for groups.
Specialize Around Two Colors
Build around one or two reliable gem colors instead of spreading points evenly. Concentrated investment produces noticeably stronger results in mid-campaign maps.
Layer Your Defense
Create an early control position, a central damage zone, and a final safety position near the Orb so no single breach ends the run.
Record Amulet Progress
Note which maps were cleared without special objectives. Battle amulets tied to survival, speed, or kill conditions are easier to revisit later with a dedicated build.
By the end of Chapter Zero you should have a stable mana economy, two specialized gem colors, and a written list of unfinished map objectives for the cleanup phase.
Stage Three: Labyrinth and Endurance
Labyrinth is the deepest portion of any GemCraft Legacy Collection playthrough. Map-based progression, wizard leveling, battle settings, and endurance challenges all demand long-term planning.
| Labyrinth System | Playthrough Strategy |
|---|---|
| Map exploration | Unlock fields methodically; note special challenge maps |
| Battle settings | Adjust traits per field; do not treat every map as standard wave-clear |
| Wizard progression | Respec when moving between campaign, challenge, and endurance |
| Endurance mode | Build one scalable central kill zone before adding support |
| Skill investment | Favor sustained damage, mana efficiency, and armor counterplay |
For endurance runs, the winning pattern is consistent: establish a resource-positive opening, scale one high-grade main gem, cycle control spells with burst damage according to the wave schedule, and avoid overspending on isolated early positions.
Overbuilding multiple towers before your main gem can handle scaling waves is the most common endurance failure. Invest in one scalable defense first, then add traps only when required.
Achievement Cleanup and 100% Route
The collection's 385 achievements are best handled in a structured second pass after campaign completion. Separate progression from cleanup and revisit cleared maps with purpose-built loadouts.
Full Playthrough Milestones:
- Complete The Forgotten campaign and learn core gem mechanics
- Finish Chapter Zero with a stable mana-focused skill core
- Clear Labyrinth main maps and unlock endurance modes
- Collect battle amulets on replayed maps with dedicated builds
- Complete endurance and high-difficulty challenge objectives
- Finish hidden map and special unlock content across all three games
Recommended cleanup priority:
| Phase | Target | Build Focus |
|---|---|---|
| 1 | Campaign-progression achievements | Generalist damage and mana build |
| 2 | Battle amulets and map objectives | Objective-specific setups (speed, kills, survival) |
| 3 | Hidden maps and special challenges | Trap-control and restricted-condition builds |
| 4 | Endurance and high-difficulty clears | Scaling damage, armor counterplay, spell cycling |
A full skill reset is justified when moving from ordinary maps to endurance or severe-trait fields. Rebuild around the specific threat rather than preserving a generalist setup.
FAQ
Q: How long does a full GemCraft Legacy Collection playthrough take?
A campaign-focused run across all three games takes a substantial portion of the collection's 100+ hours, while a 100% run including the roughly 385 achievements, battle amulets, and endurance modes takes considerably longer depending on skill and cleanup efficiency.
Q: Which game should I play first in the collection?
Start with GemCraft: The Forgotten to learn placement, targeting, and gem combining, then play Chapter Zero for expanded progression, and finish with Labyrinth, which offers the deepest map exploration and endurance systems.
Q: Do I need to reset skill points during the playthrough?
Occasionally. Reset only when your current skill spread blocks progress across several maps, or when switching between campaign, challenge, and endurance content that demands different specializations.
Q: Should I combine gems as soon as possible?
No. Combining too early can reduce map coverage and drain mana reserves. First secure enough low-grade gems to cover the battlefield, then upgrade the gems in positions that receive the most attack time.