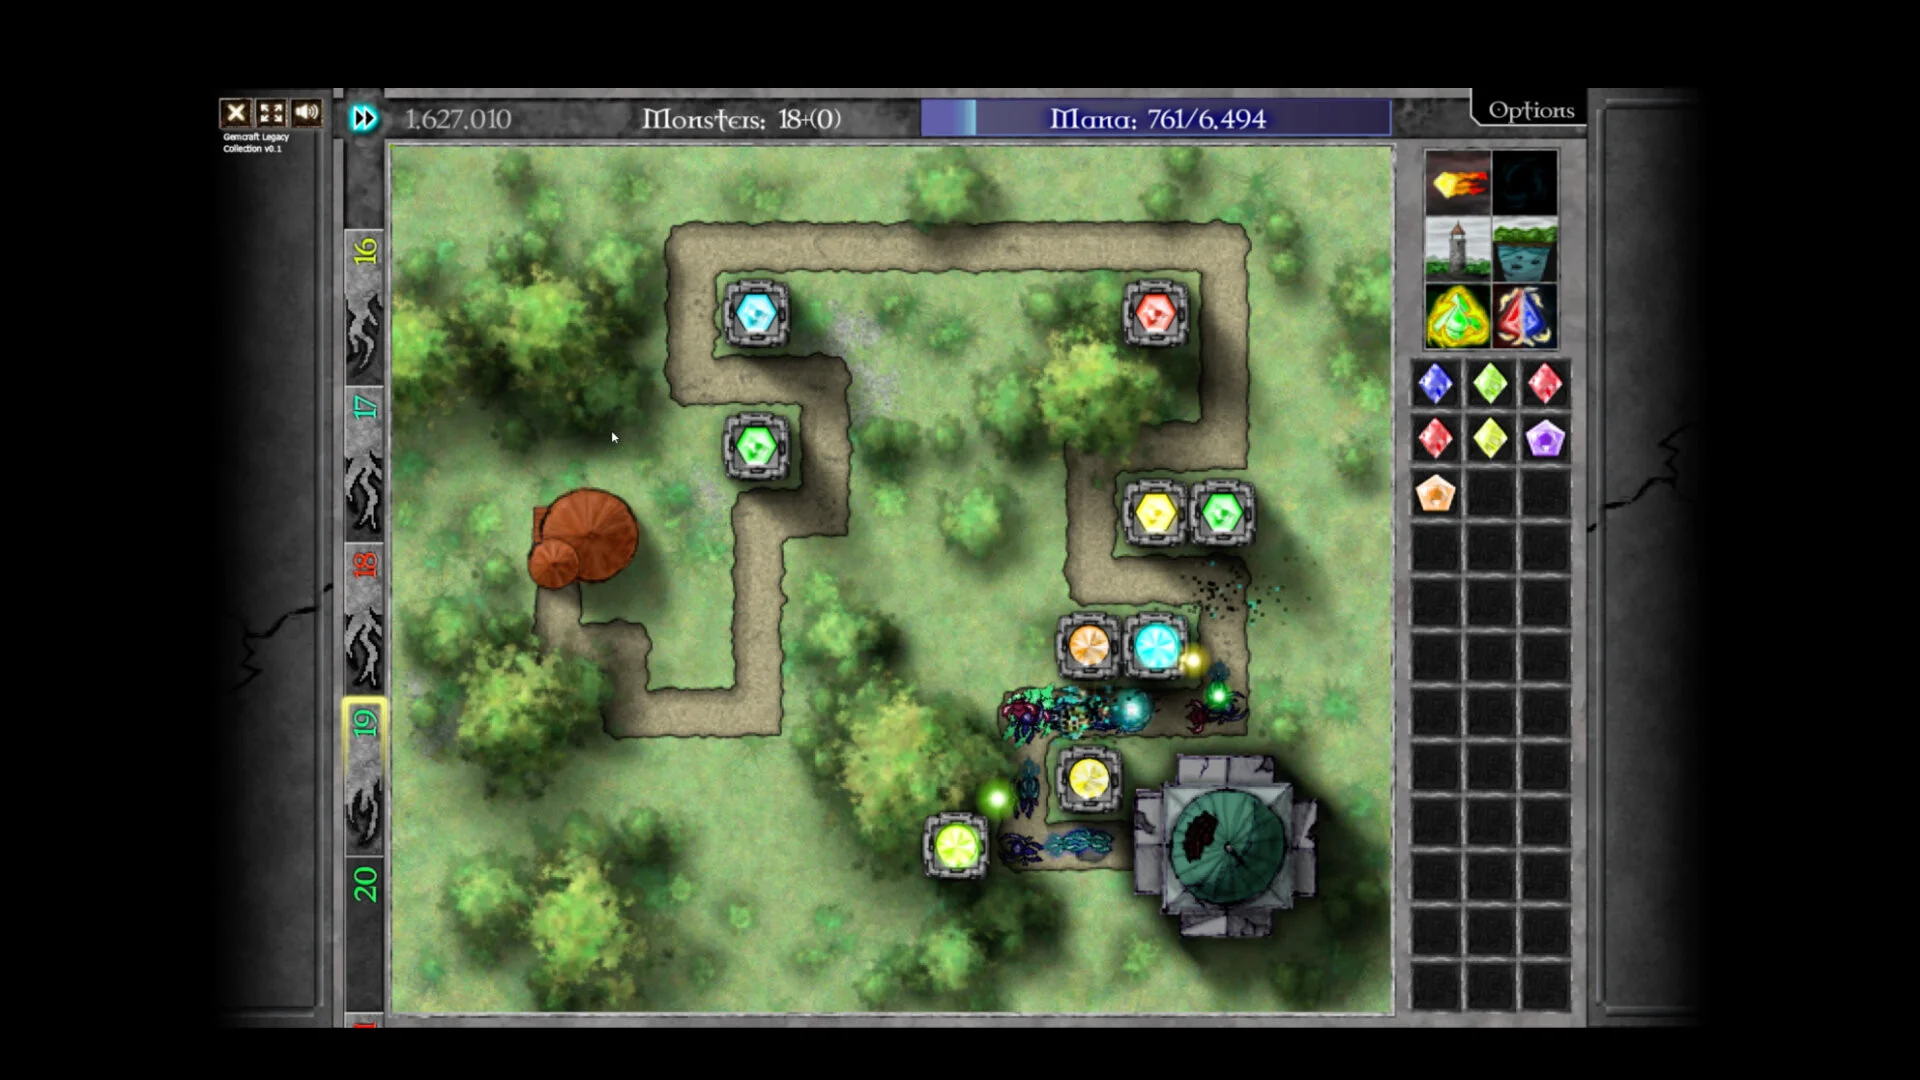
- GemCraft Legacy Collection Chapter 0 playthrough: The second game in the trilogy, Gem of Eternity.
- Core loop: Place gems in towers and traps, combine for higher grades, manage mana.
- Best opening: Secure mana income before investing in high-grade hybrid gems.
- Key skill rule: Spend points on the problems your maps actually present.
- Completion route: Campaign first, then battle amulets and hidden fields.
Chapter 0 Playthrough Overview and Starting Order
A GemCraft Legacy Collection Chapter 0 playthrough is the natural second step after finishing the original GemCraft campaign. The Legacy Collection, released on Steam on October 21, 2026, bundles three classic titles: GemCraft: The Forgotten, GemCraft Chapter Zero (Gem of Eternity), and GemCraft Labyrinth. Chapter 0 expands the campaign structure, adds a broader skill system, and introduces a much larger map progression than the first game.
Video Highlights:
- Official overview of all three games in the collection
- Over 100 hours of content and roughly 385 achievements
- Gem combining, skills, maps, and modern Steam improvements
- Fast-forward and hotkey features for faster playthroughs
Before starting Chapter 0, confirm your fundamentals from the first game: tower placement, targeting priorities, and basic gem combining. Chapter 0 assumes you understand these systems and layers deeper progression on top of them.
| Game | Role in Series | Recommended Order |
|---|---|---|
| GemCraft: The Forgotten | Teaches core rules | Play first |
| GemCraft Chapter 0 | Expanded campaign and skills | Play second |
| GemCraft Labyrinth | Deepest exploration and modifiers | Play third |
If you begin with Chapter 0 directly, expect a steeper learning curve. Players who finish the original GemCraft first transition into Chapter 0 with better mana discipline and placement instincts.
Early Campaign: Gem Builds and Mana Economy
The opening fields of Chapter 0 reward patience over aggression. Mana is both your building resource and your defensive flexibility, so the playthrough's first hours should establish reliable income rather than chase high-grade gems immediately.
Start with a balanced single firing line near the first major path intersection. Use a direct damage gem as the core, supported by one utility gem. Only combine gems when the upgrade immediately gains better range, damage, or control than the components being consumed.
| Phase | Gem Priority | Mana Strategy |
|---|---|---|
| First 5 fields | Low-grade pure damage gems | Keep reserve for emergency gems |
| Early-mid | Damage core + slowing or armor-tear support | Grow pool through wave kills |
| Mid campaign | One high-grade hybrid in central tower | Reinvest between waves |
| Late campaign | Specialized split: boss gem + swarm control | Full spell cycling |
Damage Core Build
- Red damage gems for primary output
- Reliable against ordinary waves
- Best in towers with long exposure
Control Support Build
- White slowing gems extend tower exposure
- Orange armor-tearing unlocks damage vs armored foes
- Pair with any damage source
Economy Build
- Blue mana-stealing gems grow your pool
- Lime poison adds sustained damage
- Strong for long, target-rich fields
Do not combine every available gem as soon as it appears. Merging your only gems covering separate routes leaves entrances undefended and burns mana you cannot recover mid-wave.
Step-by-Step Playthrough Route
Follow this sequence to move through Chapter 0's campaign efficiently while building the skills your later fields will demand.
Establish the First Kill Zone
Place one tower where multiple path sections overlap, insert a pure damage gem, and verify every wave passes through its range. Add a trap only on segments enemies cross repeatedly.
Invest Skills in Mana and Damage
Allocate early skill points to mana generation, gem efficiency, and basic damage or range. Concentrated investment in the systems you use most produces stronger results than spreading points across niche options.
Specialize by Enemy Threat
After each failed or messy wave, identify what survived: armor, speed, or sheer numbers. Respond with armor tearing, slowing, or chain hit respectively instead of blindly upgrading damage.
Build the Central Hybrid
Once your defense is stable, create a high-grade mixed gem in your best tower position. Hybrid gems combining two useful effects outperform two unfocused smaller gems in most mid-campaign fields.
Clean Up Objectives and Amulets
After clearing the main route, replay fields with dedicated setups for battle amulets, hidden fields, and special challenge conditions before moving into Labyrinth.
Do not reset skills after a single failed field. Reset only when your current spread blocks progress across several maps, or when a battle mode demands a different specialization.
Mid and Late Campaign Defense
Chapter 0's difficulty curve introduces tougher enemy compositions, armored waves, and fields that punish inefficient resource use. Layer your defense rather than stacking one position: early control, central damage, and a final safety position near your Orb.
| Threat | Recommended Gem | Placement |
|---|---|---|
| Fast enemies | Slowing gem | Long straight segments |
| Armored enemies | Armor-tearing gem | First major firing position |
| Large groups | Chain-hit or splash gem | Intersections and bends |
| High-health targets | High-grade damage + critical support | Longest line of sight |
| Mixed waves | Hybrid damage/control gem | Central overlapping tower |
Hold control spells until the boss enters your main tower's range, then spend burst effects during the longest uninterrupted exposure window. Pre-spending spells wastes the one window that matters.
Chapter 0 Completion Checklist
Chapter 0 Playthrough Milestones:
- Complete the main campaign map progression
- Reach a stable mana-positive opening build
- Unlock and specialize the core skill set
- Collect available battle amulets on cleared fields
- Find and clear hidden or special fields
- Prepare a generalist build before starting Labyrinth
For official details on the collection, visit the Steam store page or Game in a Bottle, the developer's official site.
FAQ
Q: Should I play the first GemCraft before starting a Chapter 0 playthrough?
Yes, it is the smoother route. GemCraft: The Forgotten teaches placement, targeting, and combining fundamentals, so Chapter 0's expanded skill and map systems feel like natural progression rather than a steep jump.
Q: What is the best gem build for early Chapter 0 fields?
A pure direct damage gem in a tower covering overlapping path sections, backed by one utility gem for slowing or armor tearing. Keep several low-grade gems when enemies approach from multiple routes instead of merging everything.
Q: How should I spend skill points during the playthrough?
Spend points on the problems your maps actually present: mana skills when you run out of resources, damage scaling when ordinary waves overwhelm you, and control or armor skills when specific enemy types dominate.
Q: Is a GemCraft Legacy Collection Chapter 0 playthrough separate from Labyrinth unlocks?
Yes. Each game in the collection keeps its own campaign, skills, and unlock systems. Chapter 0 progression does not carry over as codes or unlocks into Labyrinth.