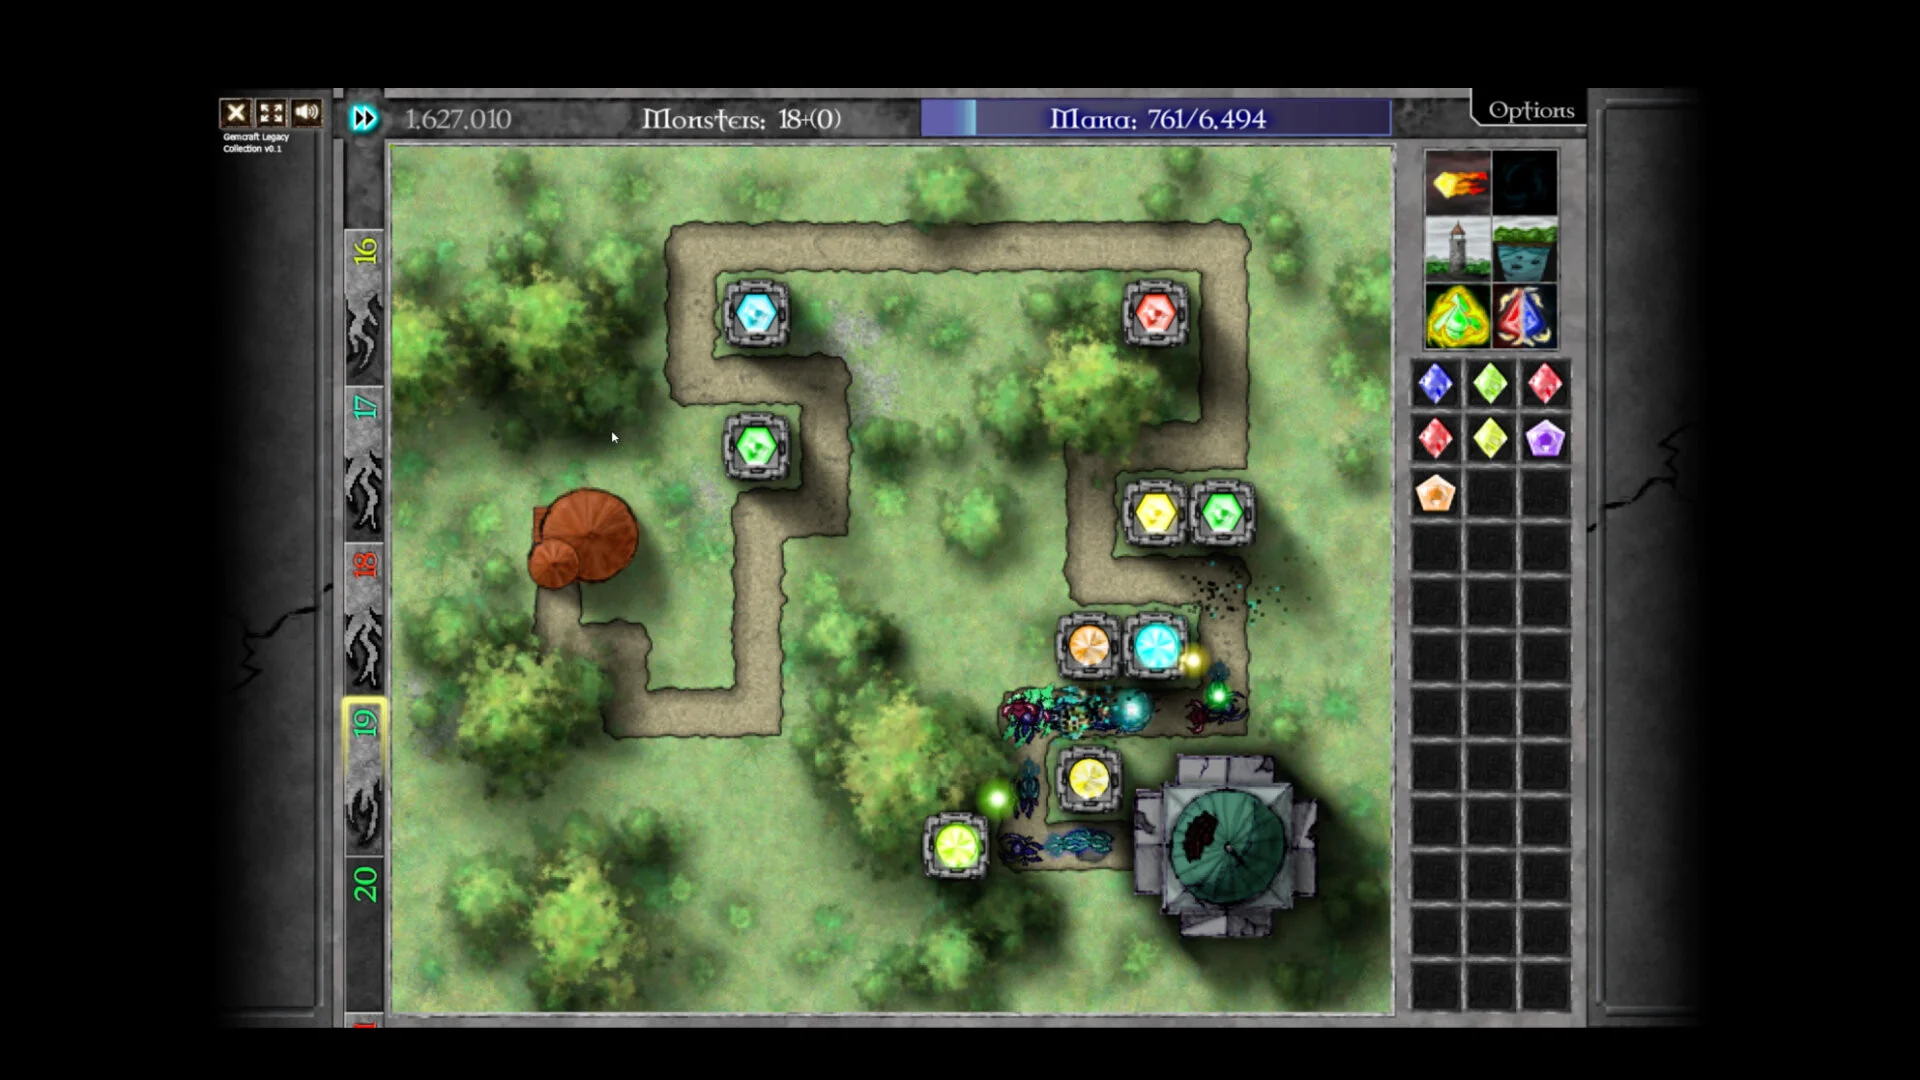
- GemCraft Legacy Collection demo gameplay centers on gem forging, tower placement, and mana economy.
- Three games included: The Forgotten, Chapter Zero, and Labyrinth share one core battle loop.
- First-run priority: Build one reliable kill zone before combining gems into higher grades.
- Mana discipline: Keep reserves for emergency gems, traps, and spells between waves.
- Watch targeting: Adjust gem target priority to handle fast, armored, and swarm enemies.
Demo Gameplay Overview: What Your First Battles Look Like
GemCraft Legacy Collection demo gameplay follows the series' signature loop: place gems into towers and traps, combine them into higher grades, and defend your Orb against escalating waves while managing mana as both a building resource and a survival buffer. The collection bundles GemCraft: The Forgotten, GemCraft Chapter Zero, and GemCraft Labyrinth into a single Steam release with over 100 hours of content and roughly 385 achievements.
Video Highlights:
- Official trailer covering all three included games
- Over 100 hours of combined content
- Gem forging, maps, skills, and achievements showcase
The Steam version adds quality-of-life improvements over the original Flash releases, including fast-forward speed controls, hotkeys, screen scaling, and performance optimizations. These changes matter during your first sessions because they let you pause safely, accelerate calm waves, and inspect the battlefield before committing mana.
| Improvement | What It Does | Why It Matters in Demo Gameplay |
|---|---|---|
| Fast acceleration | Speeds up wave playback | Grinds fewer idle waves between threats |
| Hotkeys | Quick access to core actions | Faster gem placement under pressure |
| Screen scaling | Adapts to modern displays | Clearer view of paths and tower ranges |
| Performance fixes | Smoother large battles | Stable control during dense swarm waves |
Begin your demo-style first run in GemCraft: The Forgotten. It teaches placement, targeting, and combining fundamentals before Chapter Zero and Labyrinth expand the progression systems.
Core Battle Loop: Gems, Towers, Traps, and Mana
Every battle in the collection runs on the same resource triangle: mana funds buildings, gems provide offense and control, and placement determines how much attack time each gem actually gets.
Towers
- Ranged, sustained attacks
- Best on long path segments and corners
- Ideal home for high-grade damage gems
Traps
- Repeated path contact
- Best for slow, poison, and control effects
- Cheaper coverage on tight maps
Amplifiers
- Boost a key nearby gem
- Use after your main gem is well placed
- Avoid spreading upgrades too thin
Mana deserves as much attention as damage. Kills and wave bonuses grow your pool, but overbuilding in the opening waves leaves no reserve for emergency gems or spells when a fast wave slips through.
| Resource | Main Use | Common Mistake |
|---|---|---|
| Mana | Buildings, combining, spells | Spending everything on one early upgrade |
| Gem slots | Tower and trap positions | Clustering all gems at one entrance |
| Skill points | Permanent stat improvements | Spreading points across every option |
| Spells | Control and burst effects | Dumping all charges on the first wave |
Combining every gem immediately reduces map coverage. Keep enough low-grade gems on separate routes so no entrance is left undefended while you build toward higher grades.
Gem Effects and Enemy Matching
Gem strength is situational. Pure gems deliver one strong primary effect, while mixed gems blend properties from their component colors. Match the gem to the enemy property that is actually breaking your defense.
| Gem Effect | Best Against | Placement Advice |
|---|---|---|
| Direct damage | Ordinary health enemies | Central tower with long exposure |
| Armor tearing | Armored enemies | First firing position to weaken targets |
| Slowing | Fast enemies | Traps on repeated path traffic |
| Chain hit | Dense groups | Tower covering multiple lanes |
| Poison | Durable waves | Trap where enemies pass repeatedly |
| Mana stealing | Long battles, many targets | Support tower behind the kill zone |
| Critical / bloodbound | Bosses, high-grade builds | Needs attack-speed or damage support |
Read each wave before committing. If enemies survive your main damage gem because of armor, upgrading that gem further rarely helps; add armor tearing or control instead.
Structure the map in three layers: early control near entrances, central damage at path overlaps, and a final safety position near your Orb for anything that breaks through.
First-Run Skill and Progression Route
Skill points should solve the recurring problems your maps present, not follow a fixed universal order. This route works for a first campaign pass across the collection.
Secure mana income first
Invest early points into mana generation, gem efficiency, and basic combat consistency. A resource-positive opening funds every later decision.
Build one reliable kill zone
Place a dependable damage gem where path sections overlap, supported by a trap on a long segment. Improve this position before adding new towers.
Specialize by mid game
Focus on one or two gem colors that match your maps. Add armor-breaking, crowd control, or splash support when tougher groups appear.
Respec for endurance and challenges
When moving to Endurance or high-difficulty fields, rebuild around scaling damage, mana efficiency, and sustained control rather than an early-game generalist setup.
Do not reset after one failed field. Only respec when your current skill spread blocks progress across several maps or a new mode demands different specialization.
Demo Gameplay Readiness Checklist
Run through this list before taking on harder fields and Endurance-style battles.
Before Advanced Battles:
- One central kill zone handling current wave levels
- Mana reserve kept for emergency gems and spells
- Target priorities set for fast and armored enemies
- Skills focused on mana and core gem performance
- Trap and amplifier positions supporting the main gem
GemCraft Legacy Collection released on Steam on October 21, 2026. Official pages: Steam store page and Armor Games Studios.
FAQ
Q: What does GemCraft Legacy Collection demo gameplay include?
The core loop covers all three bundled games: placing gems in towers and traps, combining gems into higher grades, spending skill points, and defending your Orb while managing mana. The collection includes GemCraft: The Forgotten, Chapter Zero, and Labyrinth.
Q: Which game should I play first in the collection?
Start with GemCraft: The Forgotten to learn fundamentals like placement, targeting, and combining. Move to Chapter Zero for broader progression, then Labyrinth for exploration, battle settings, and endurance challenges.
Q: Should I combine gems as soon as possible?
No. Combining too early reduces coverage and can delete a useful secondary effect. First establish enough low-grade gems to cover every route, then upgrade the positions receiving the most attack time.
Q: How do the Steam versions differ from the original Flash games?
The collection adds fast-forward speed controls, hotkeys, screen scaling for modern displays, and performance optimizations, making long battles smoother and battlefield management faster than the originals.